非正統的な Unortho dax
Official website of a person who gets excited by rocks, crocodiles, and nicely arranged pixels.
Dax Pandhi has spent most of his life following the adage:
When given a choice between two, choose the third.
He is a software programmer, cg environment artist, cinematographer, author, mad scientist, entrepreneur, and wildlife conservationist. He loves working in different mediums and trying to create new hybrids.
Over the years, he has worked in various fields but problem solving has been his mainstay through all of them.
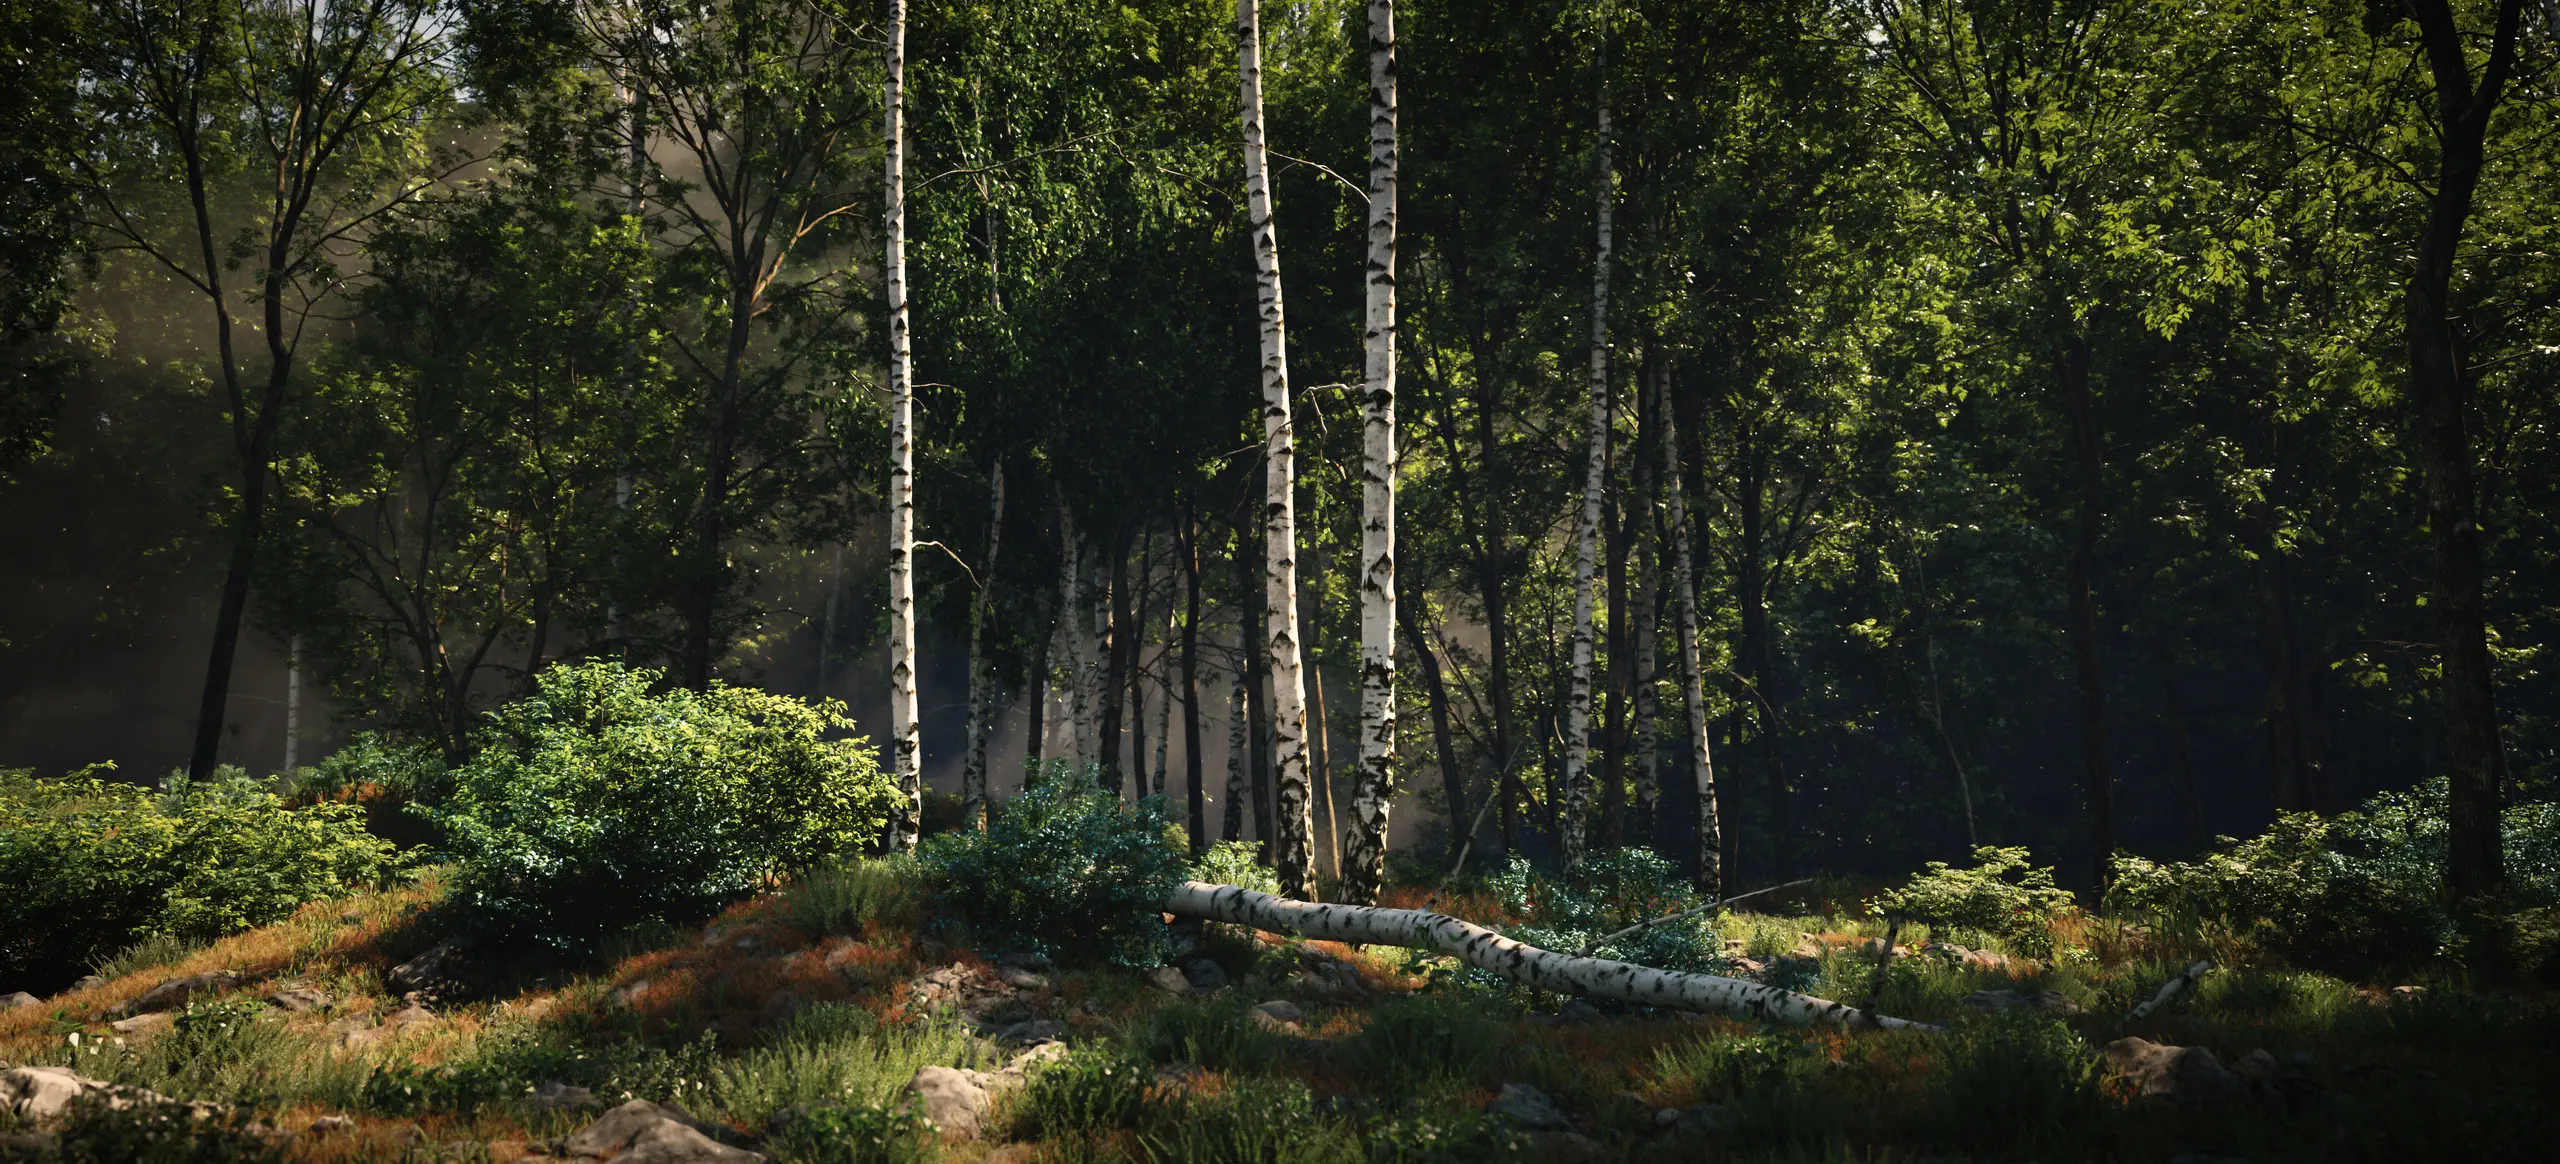
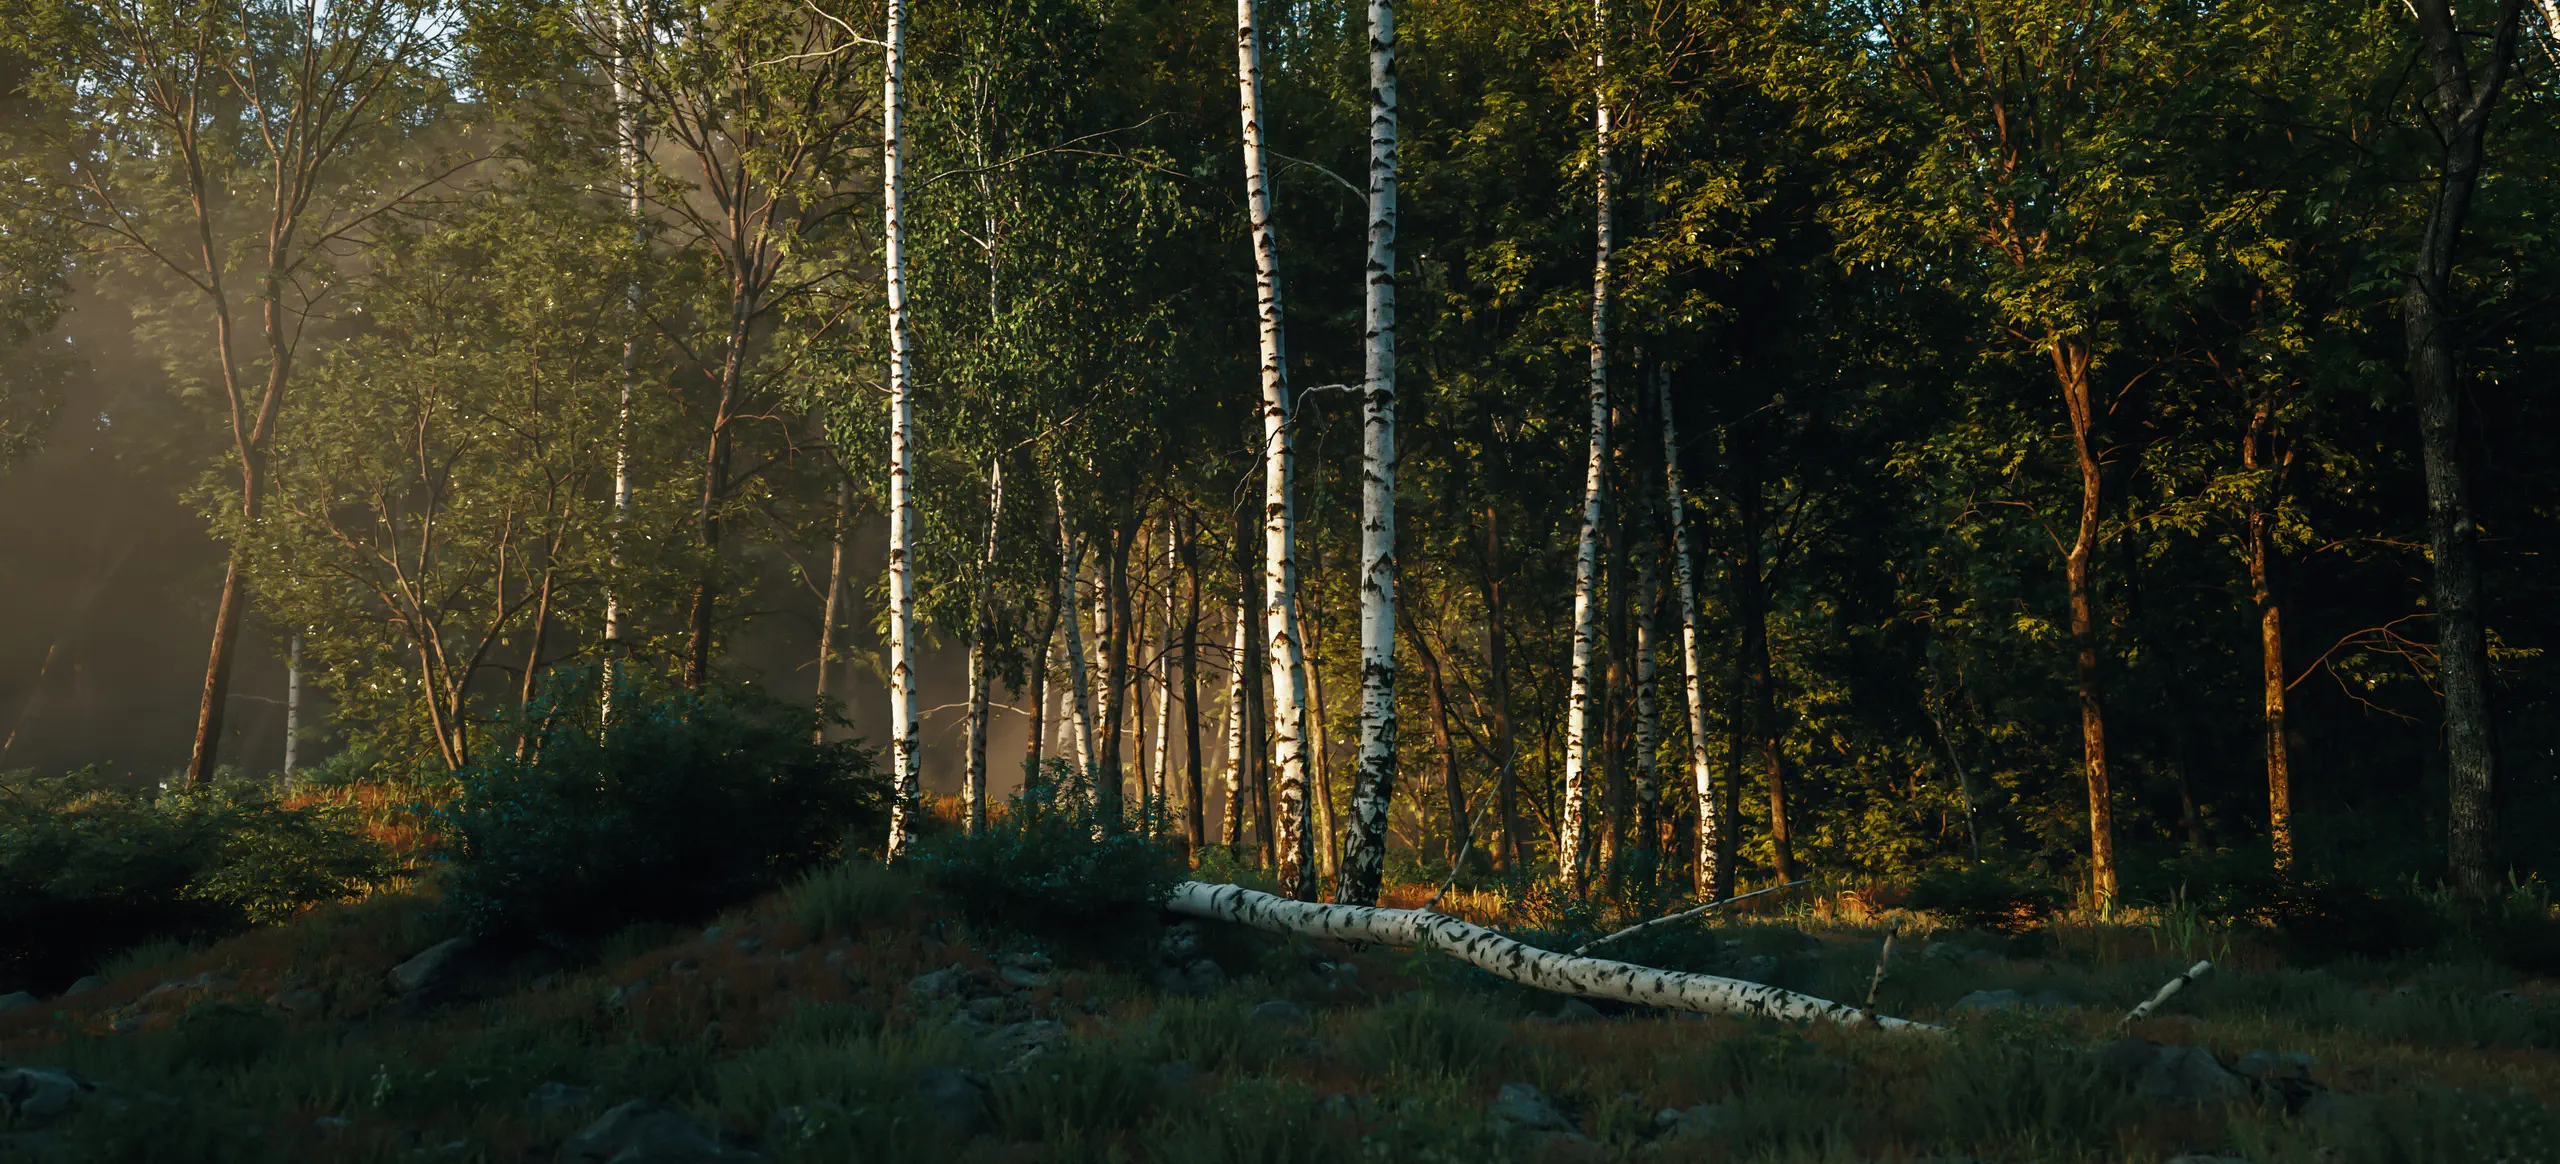
Recent Projects
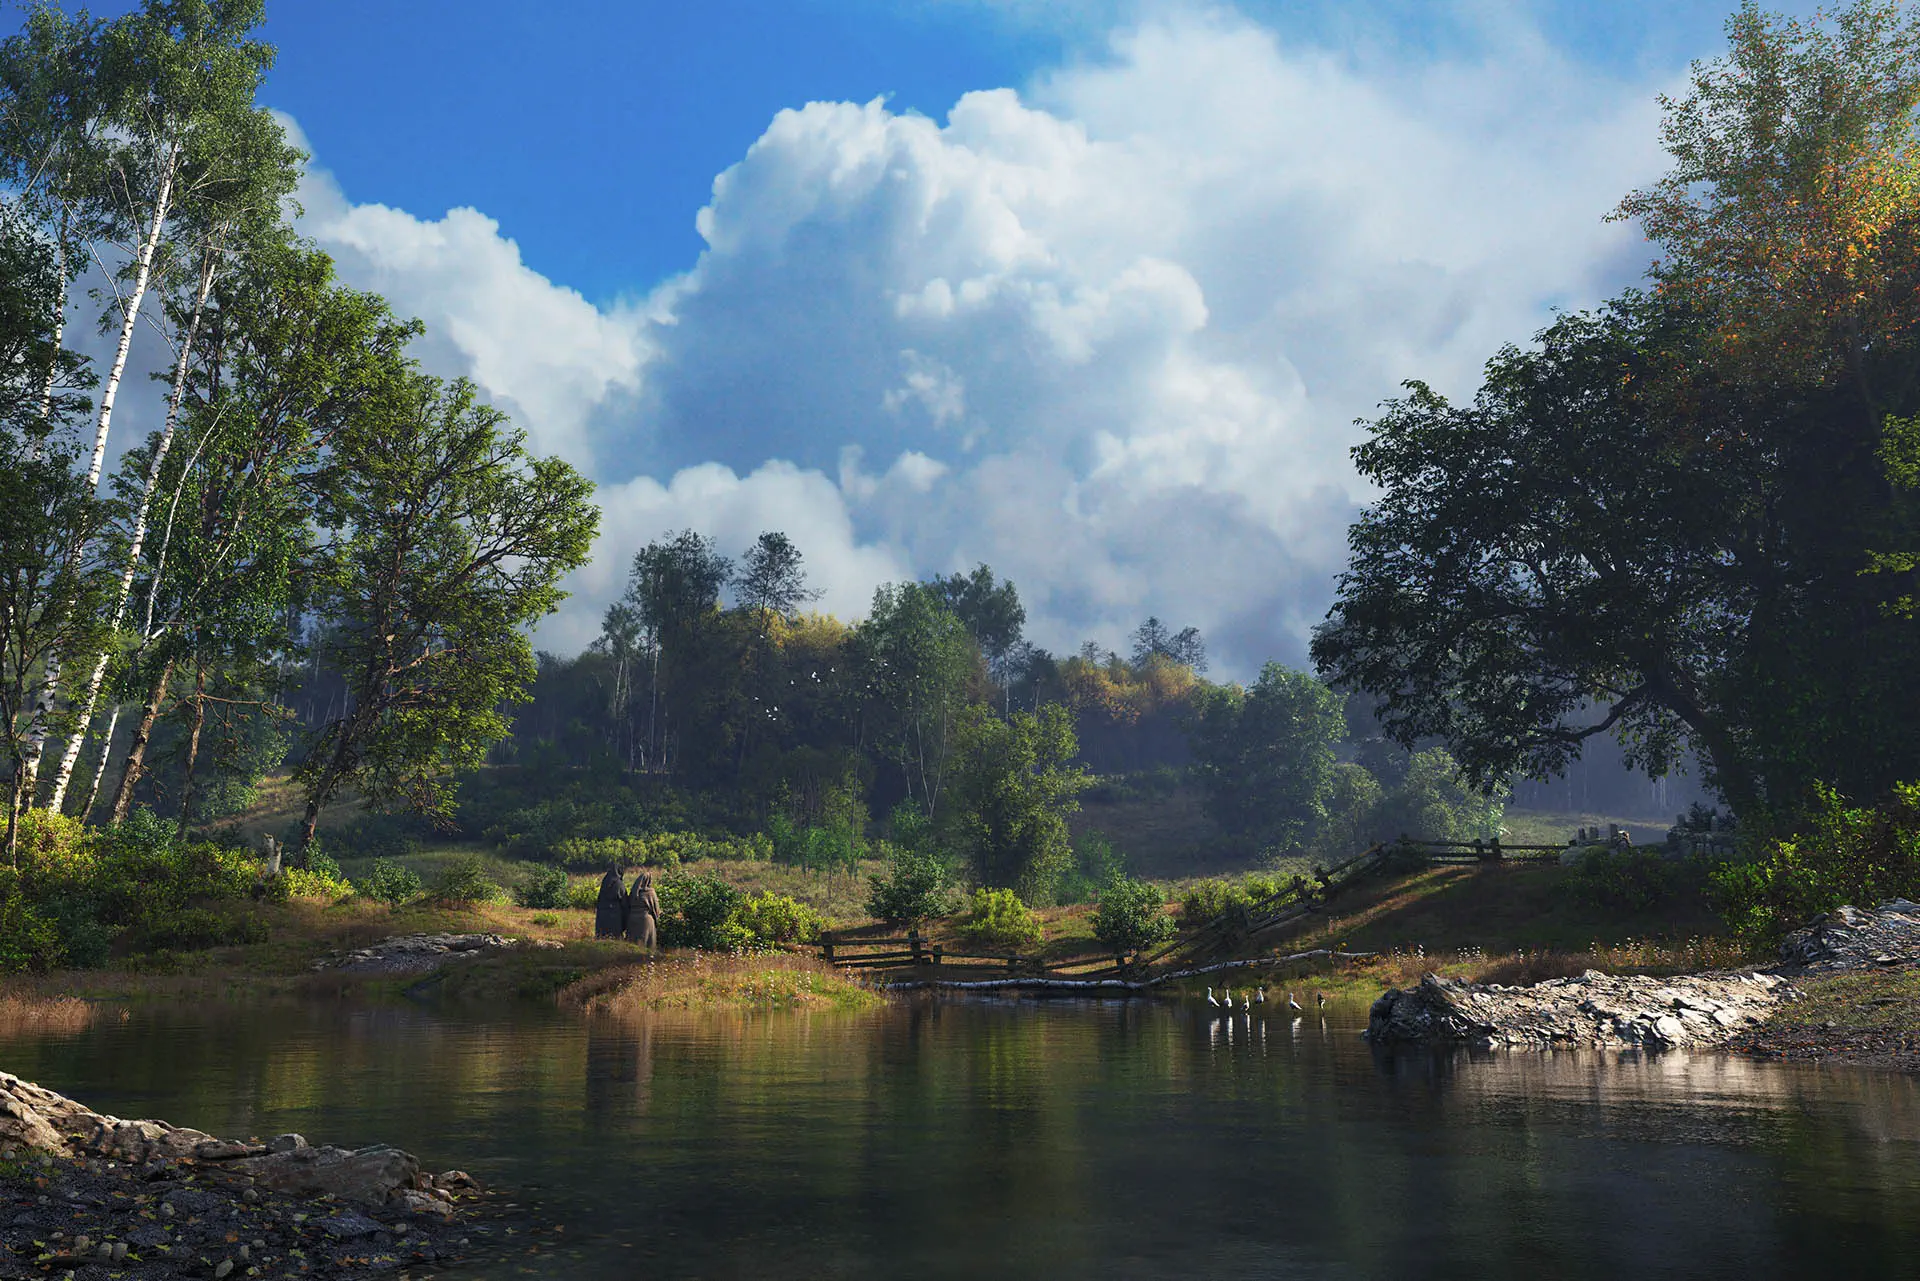
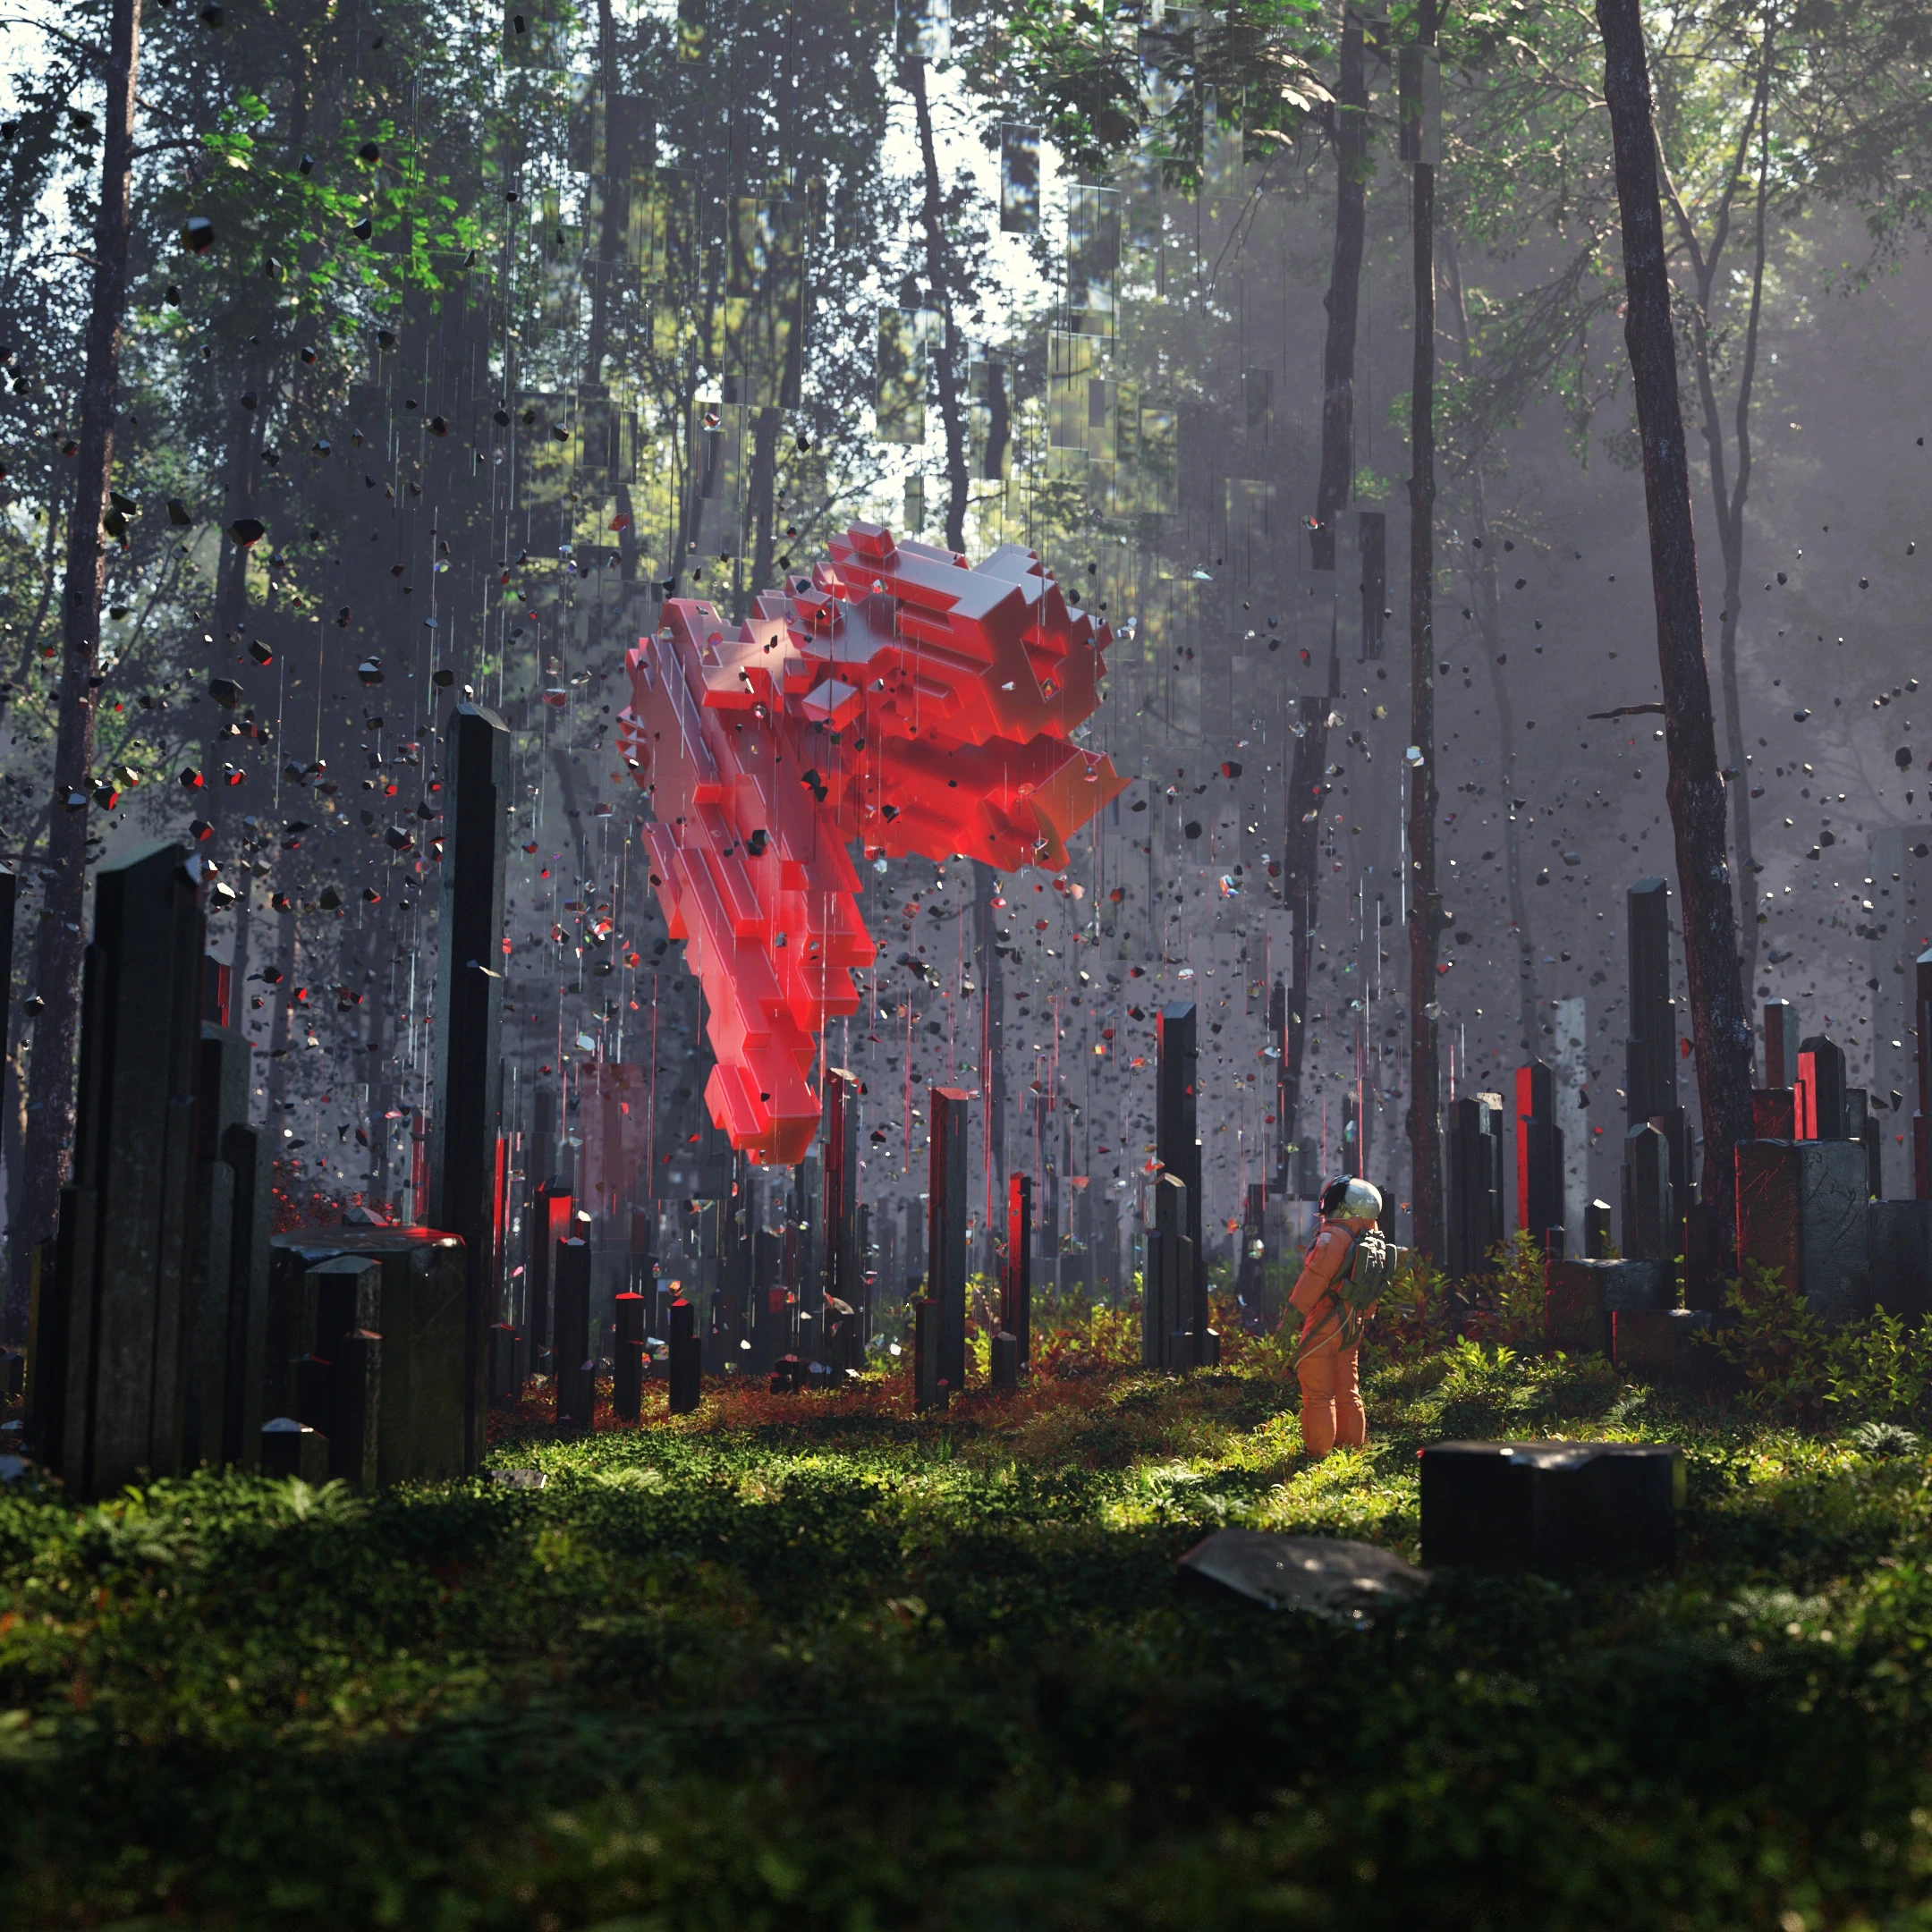


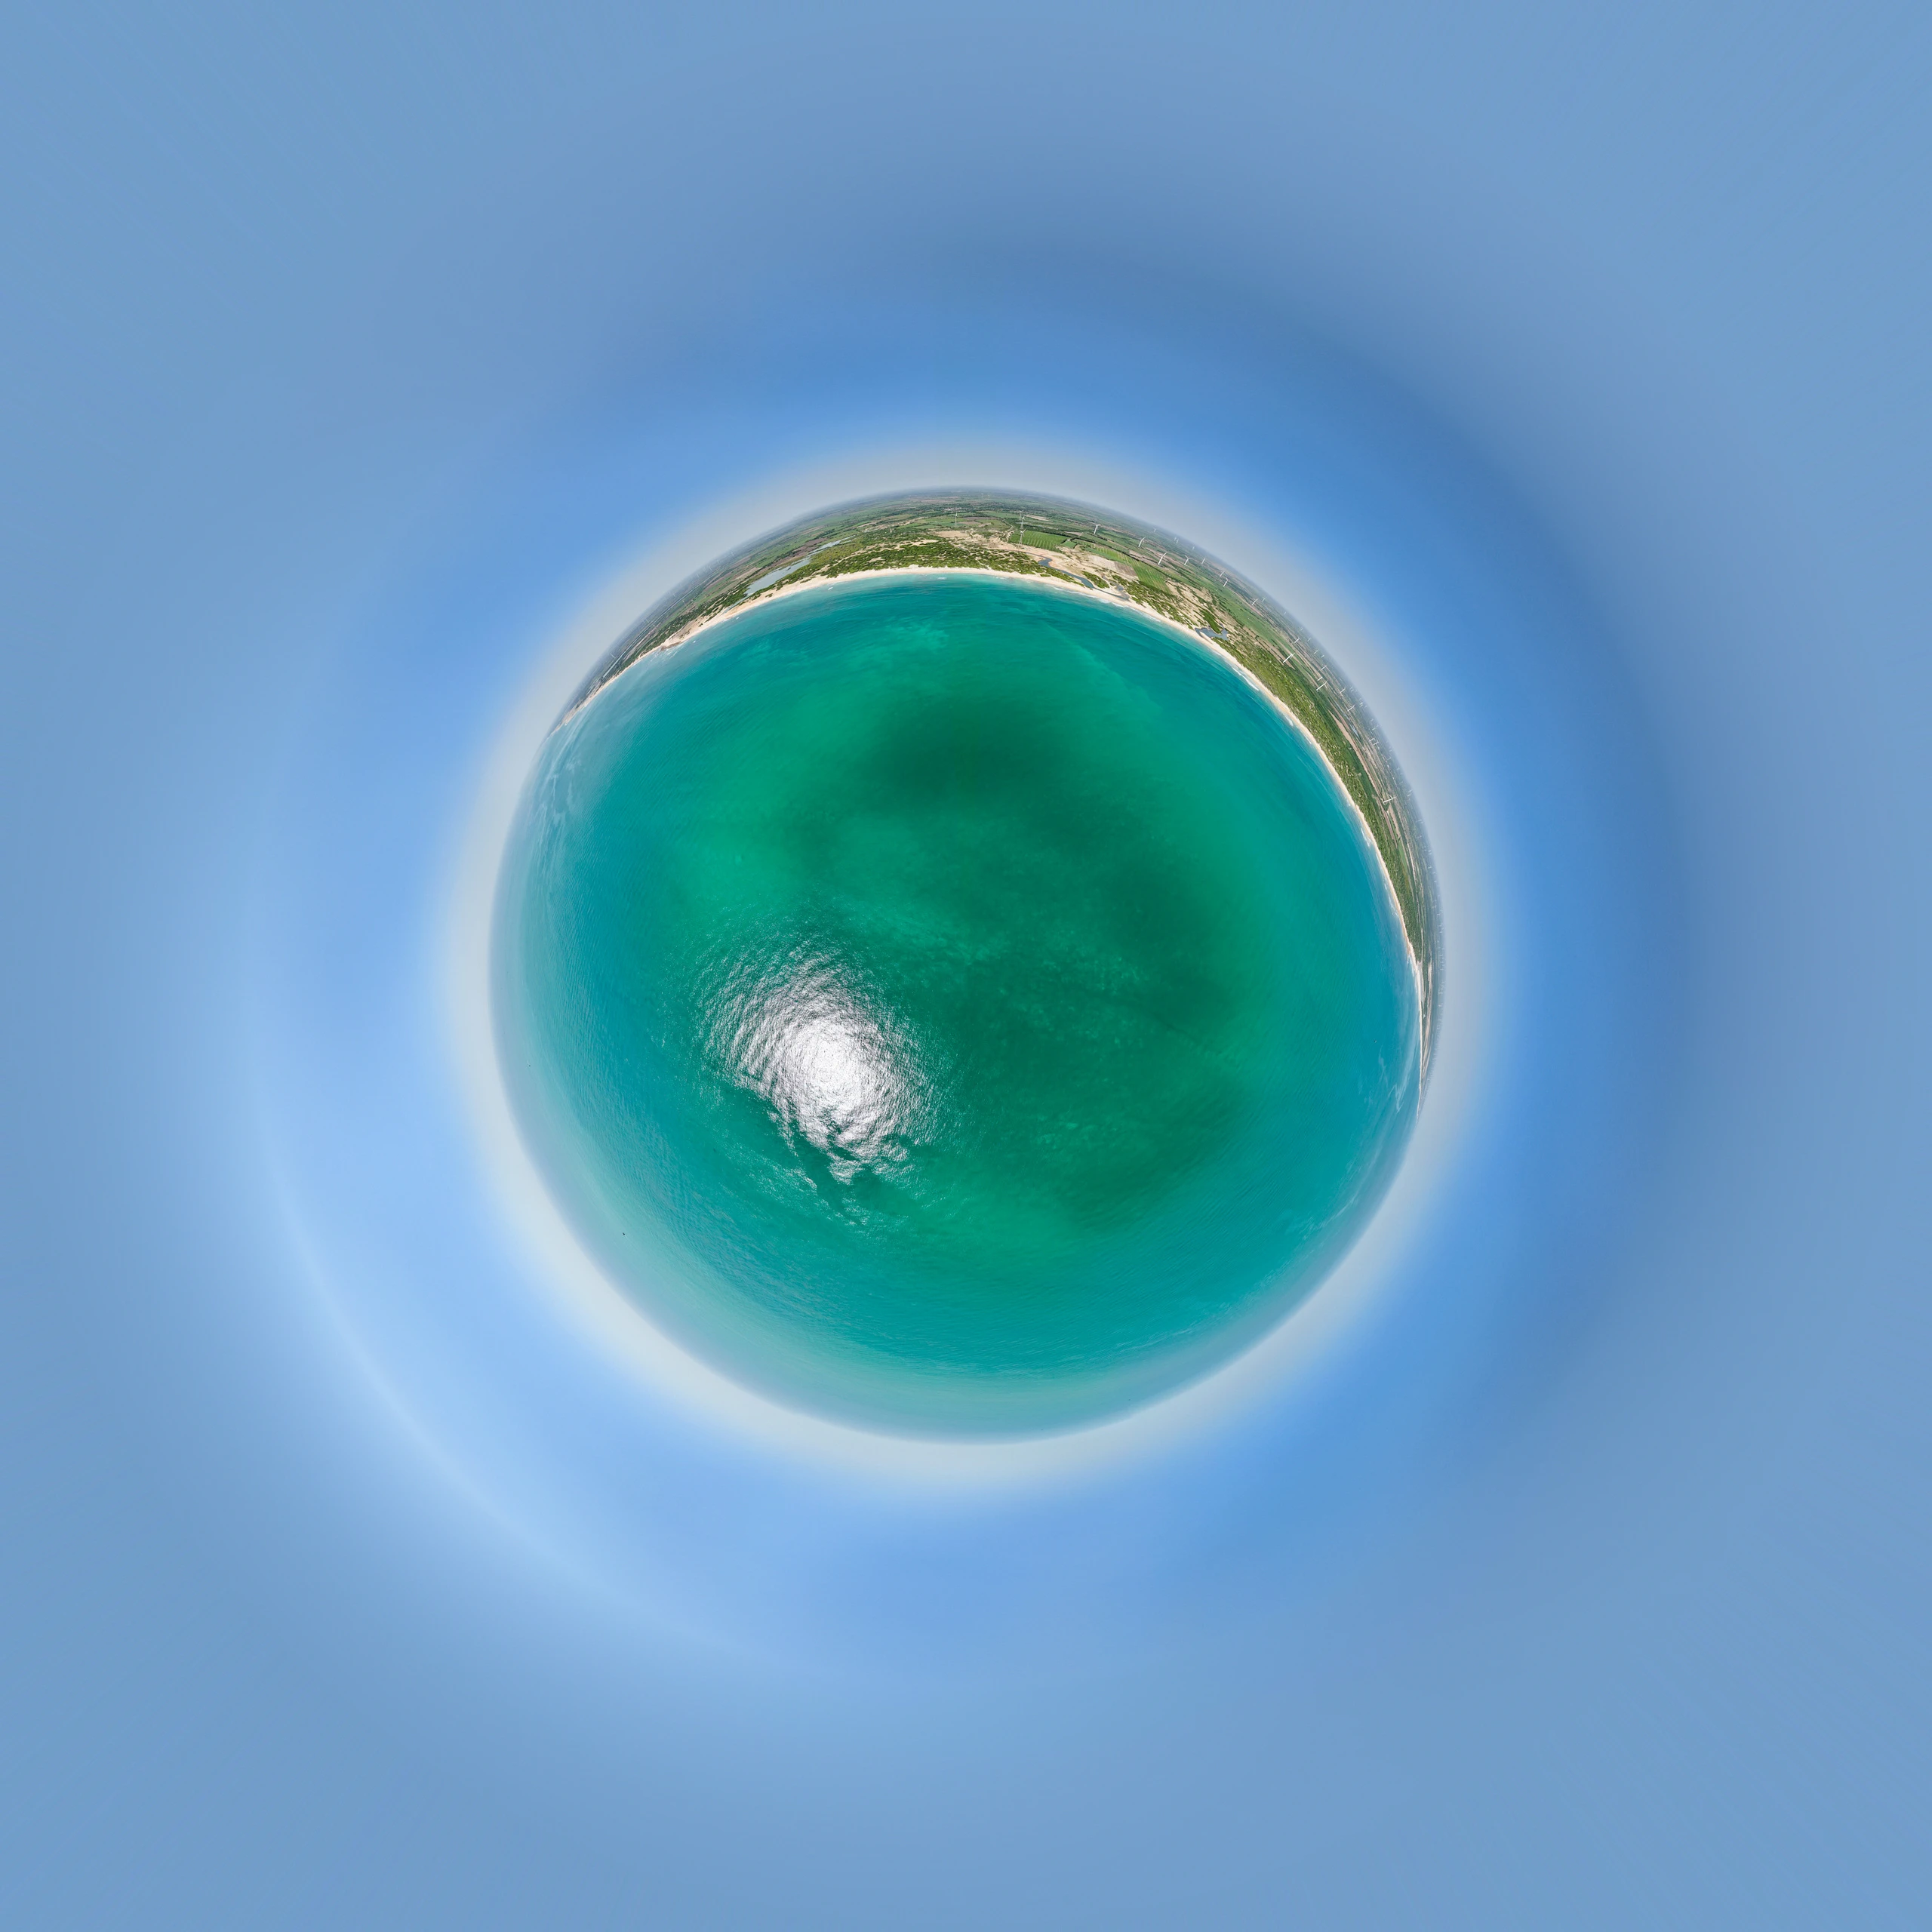
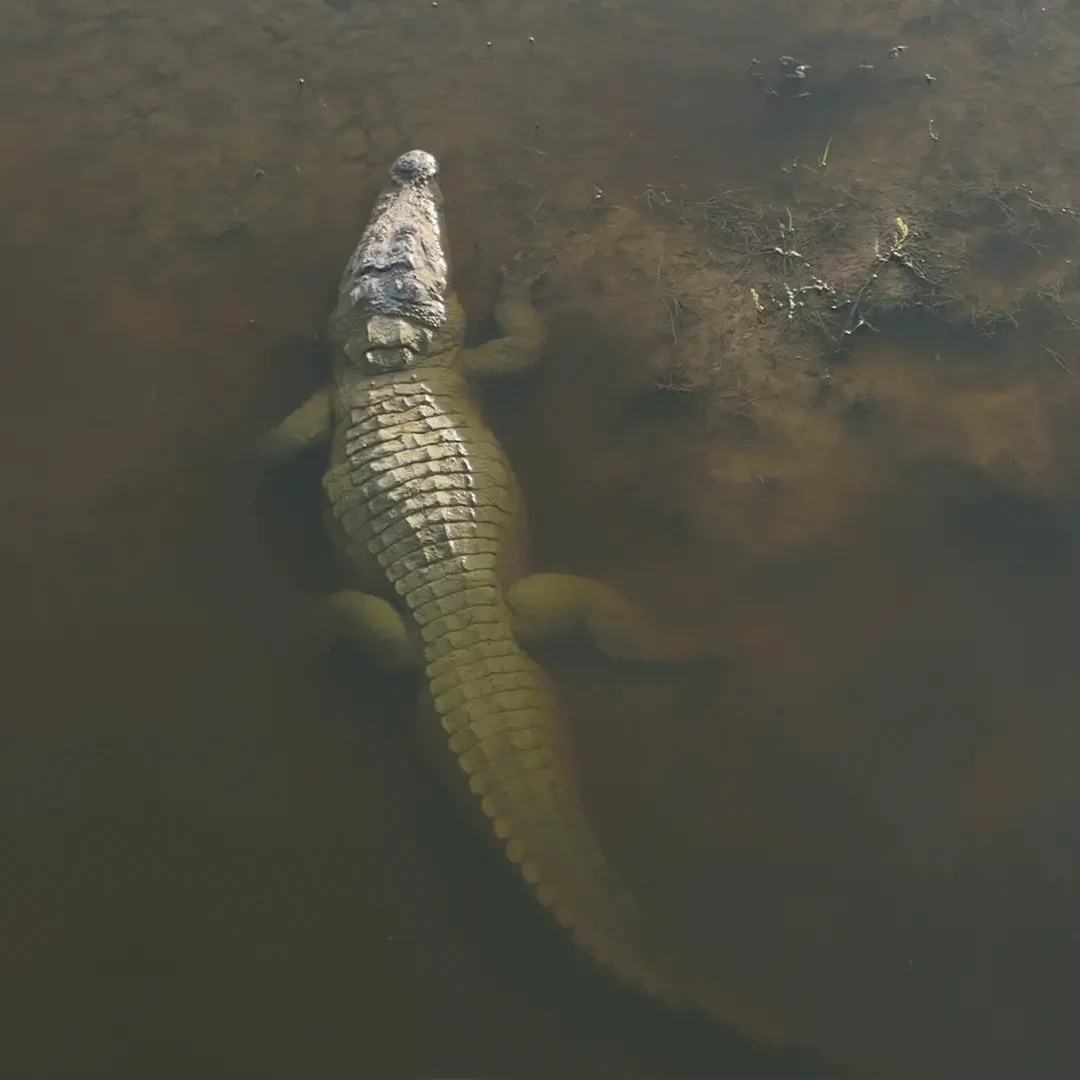
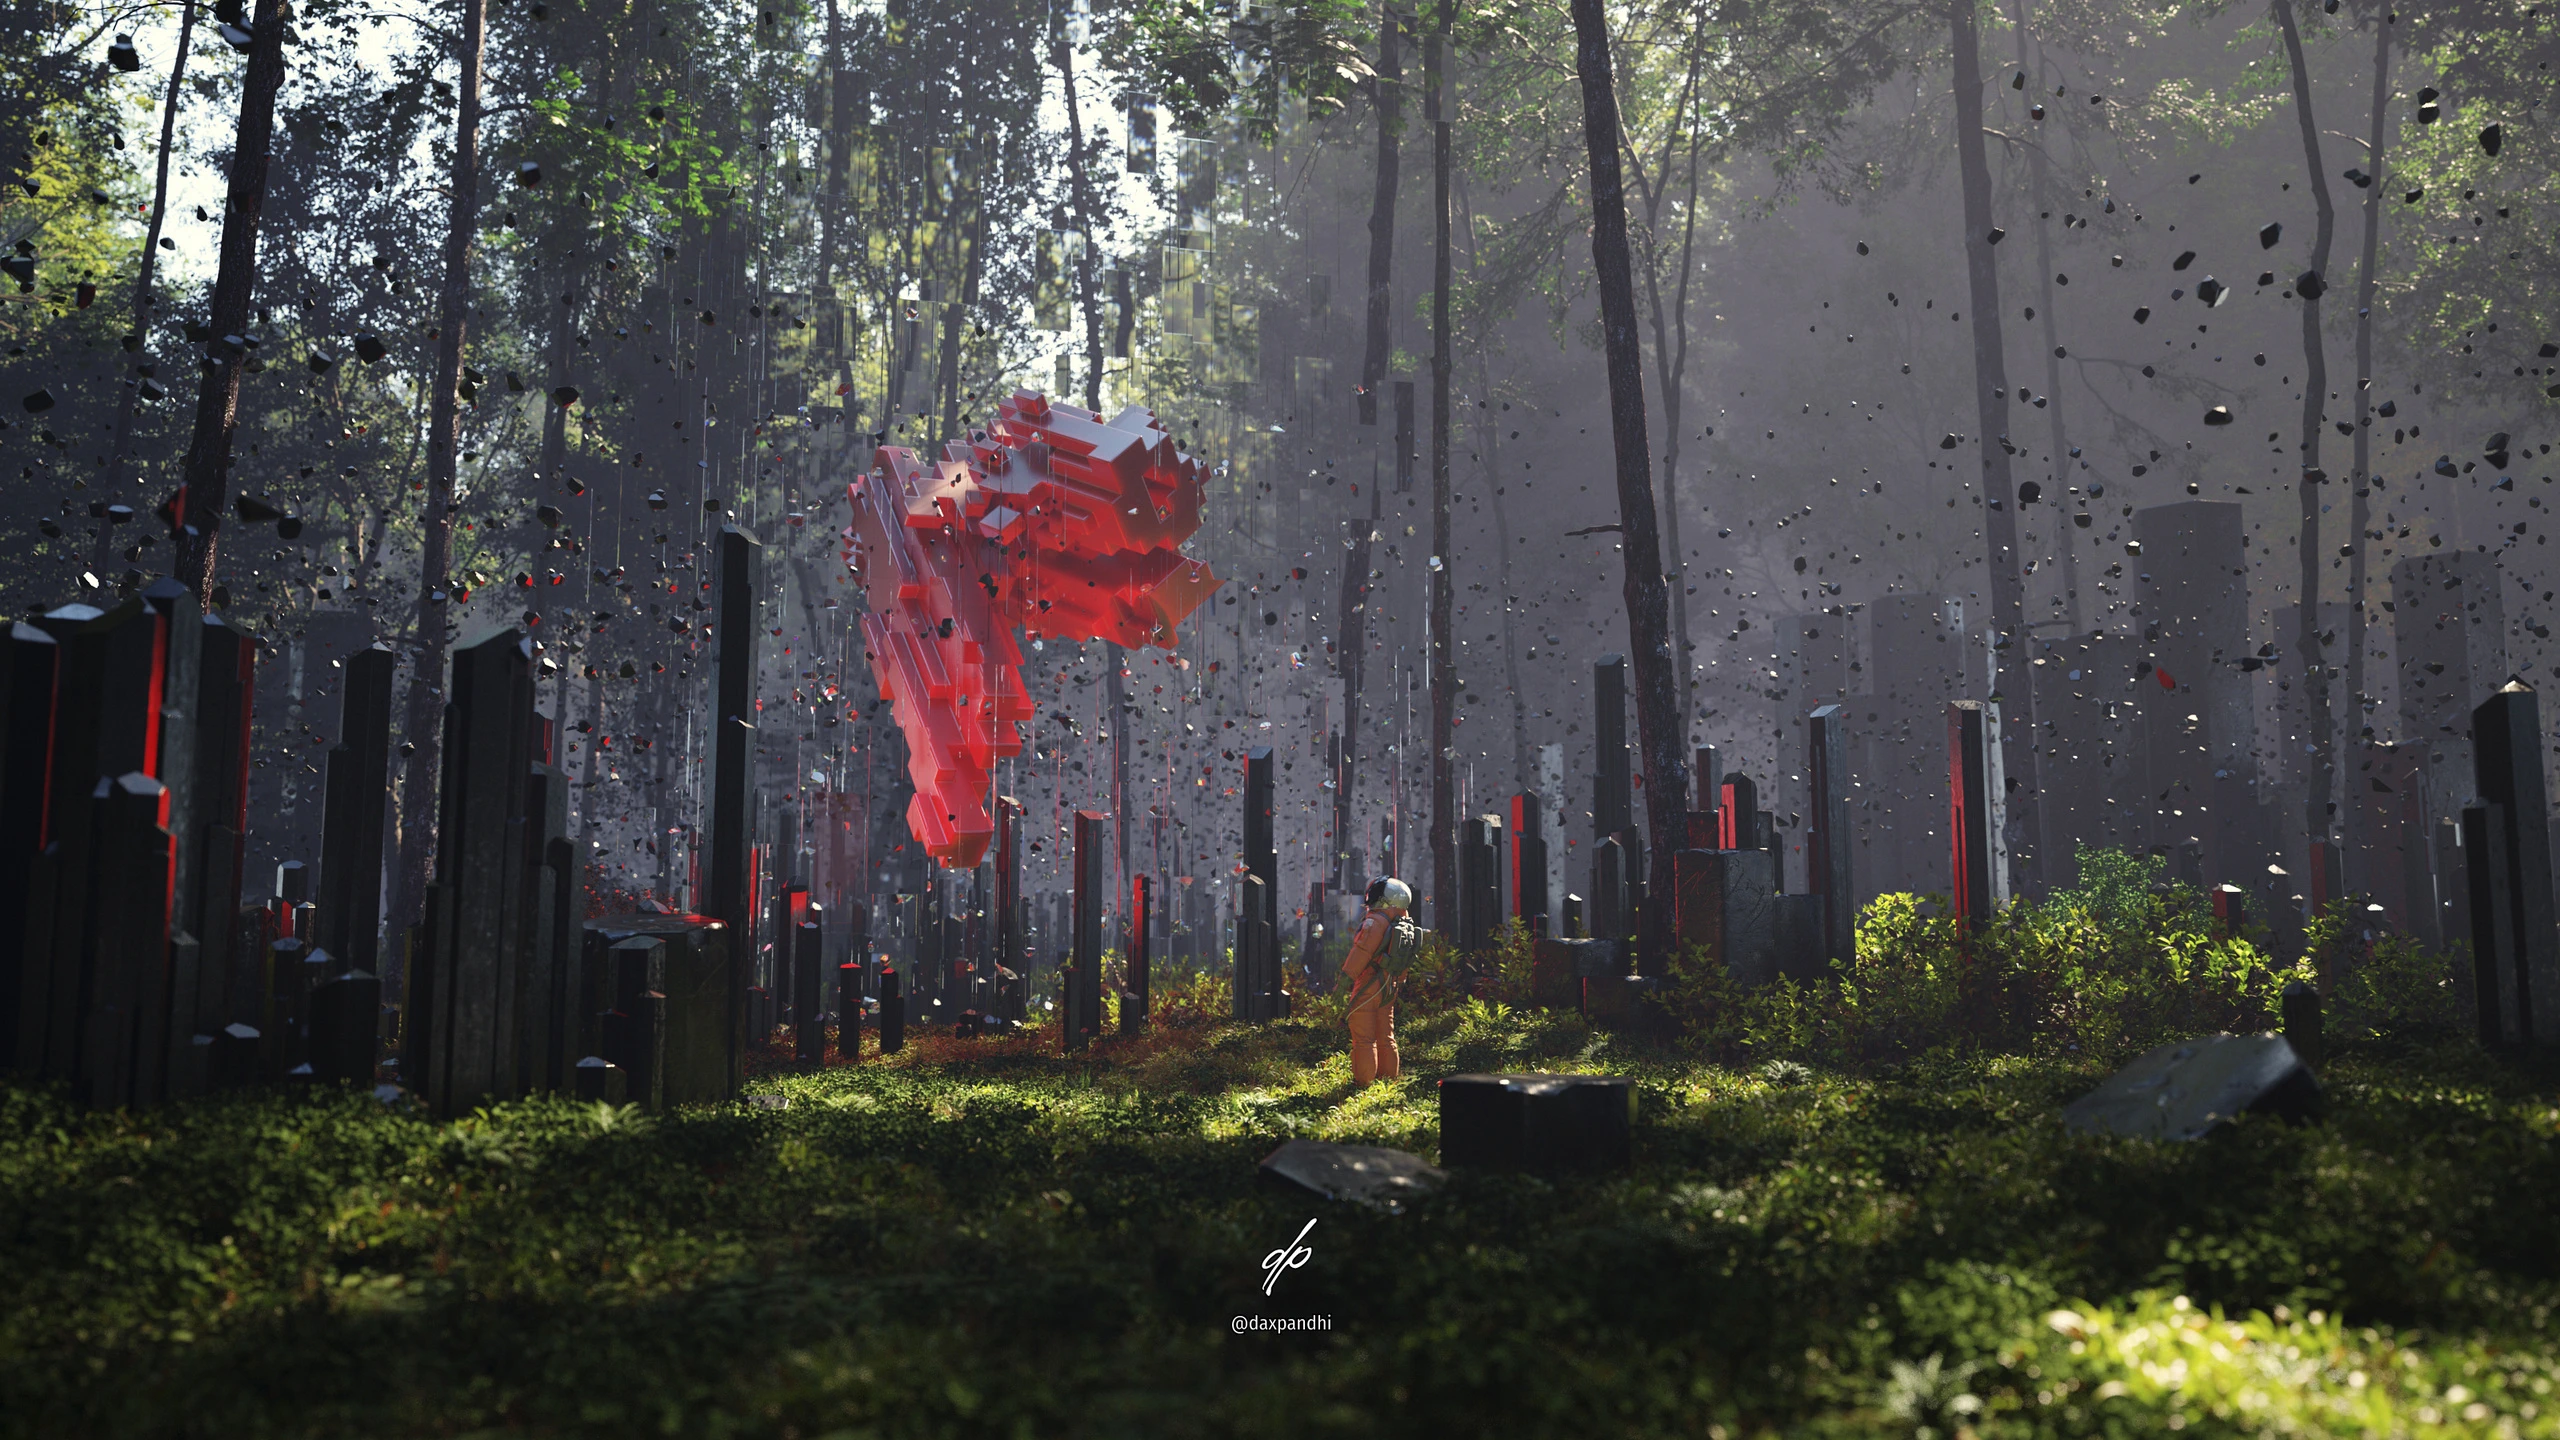
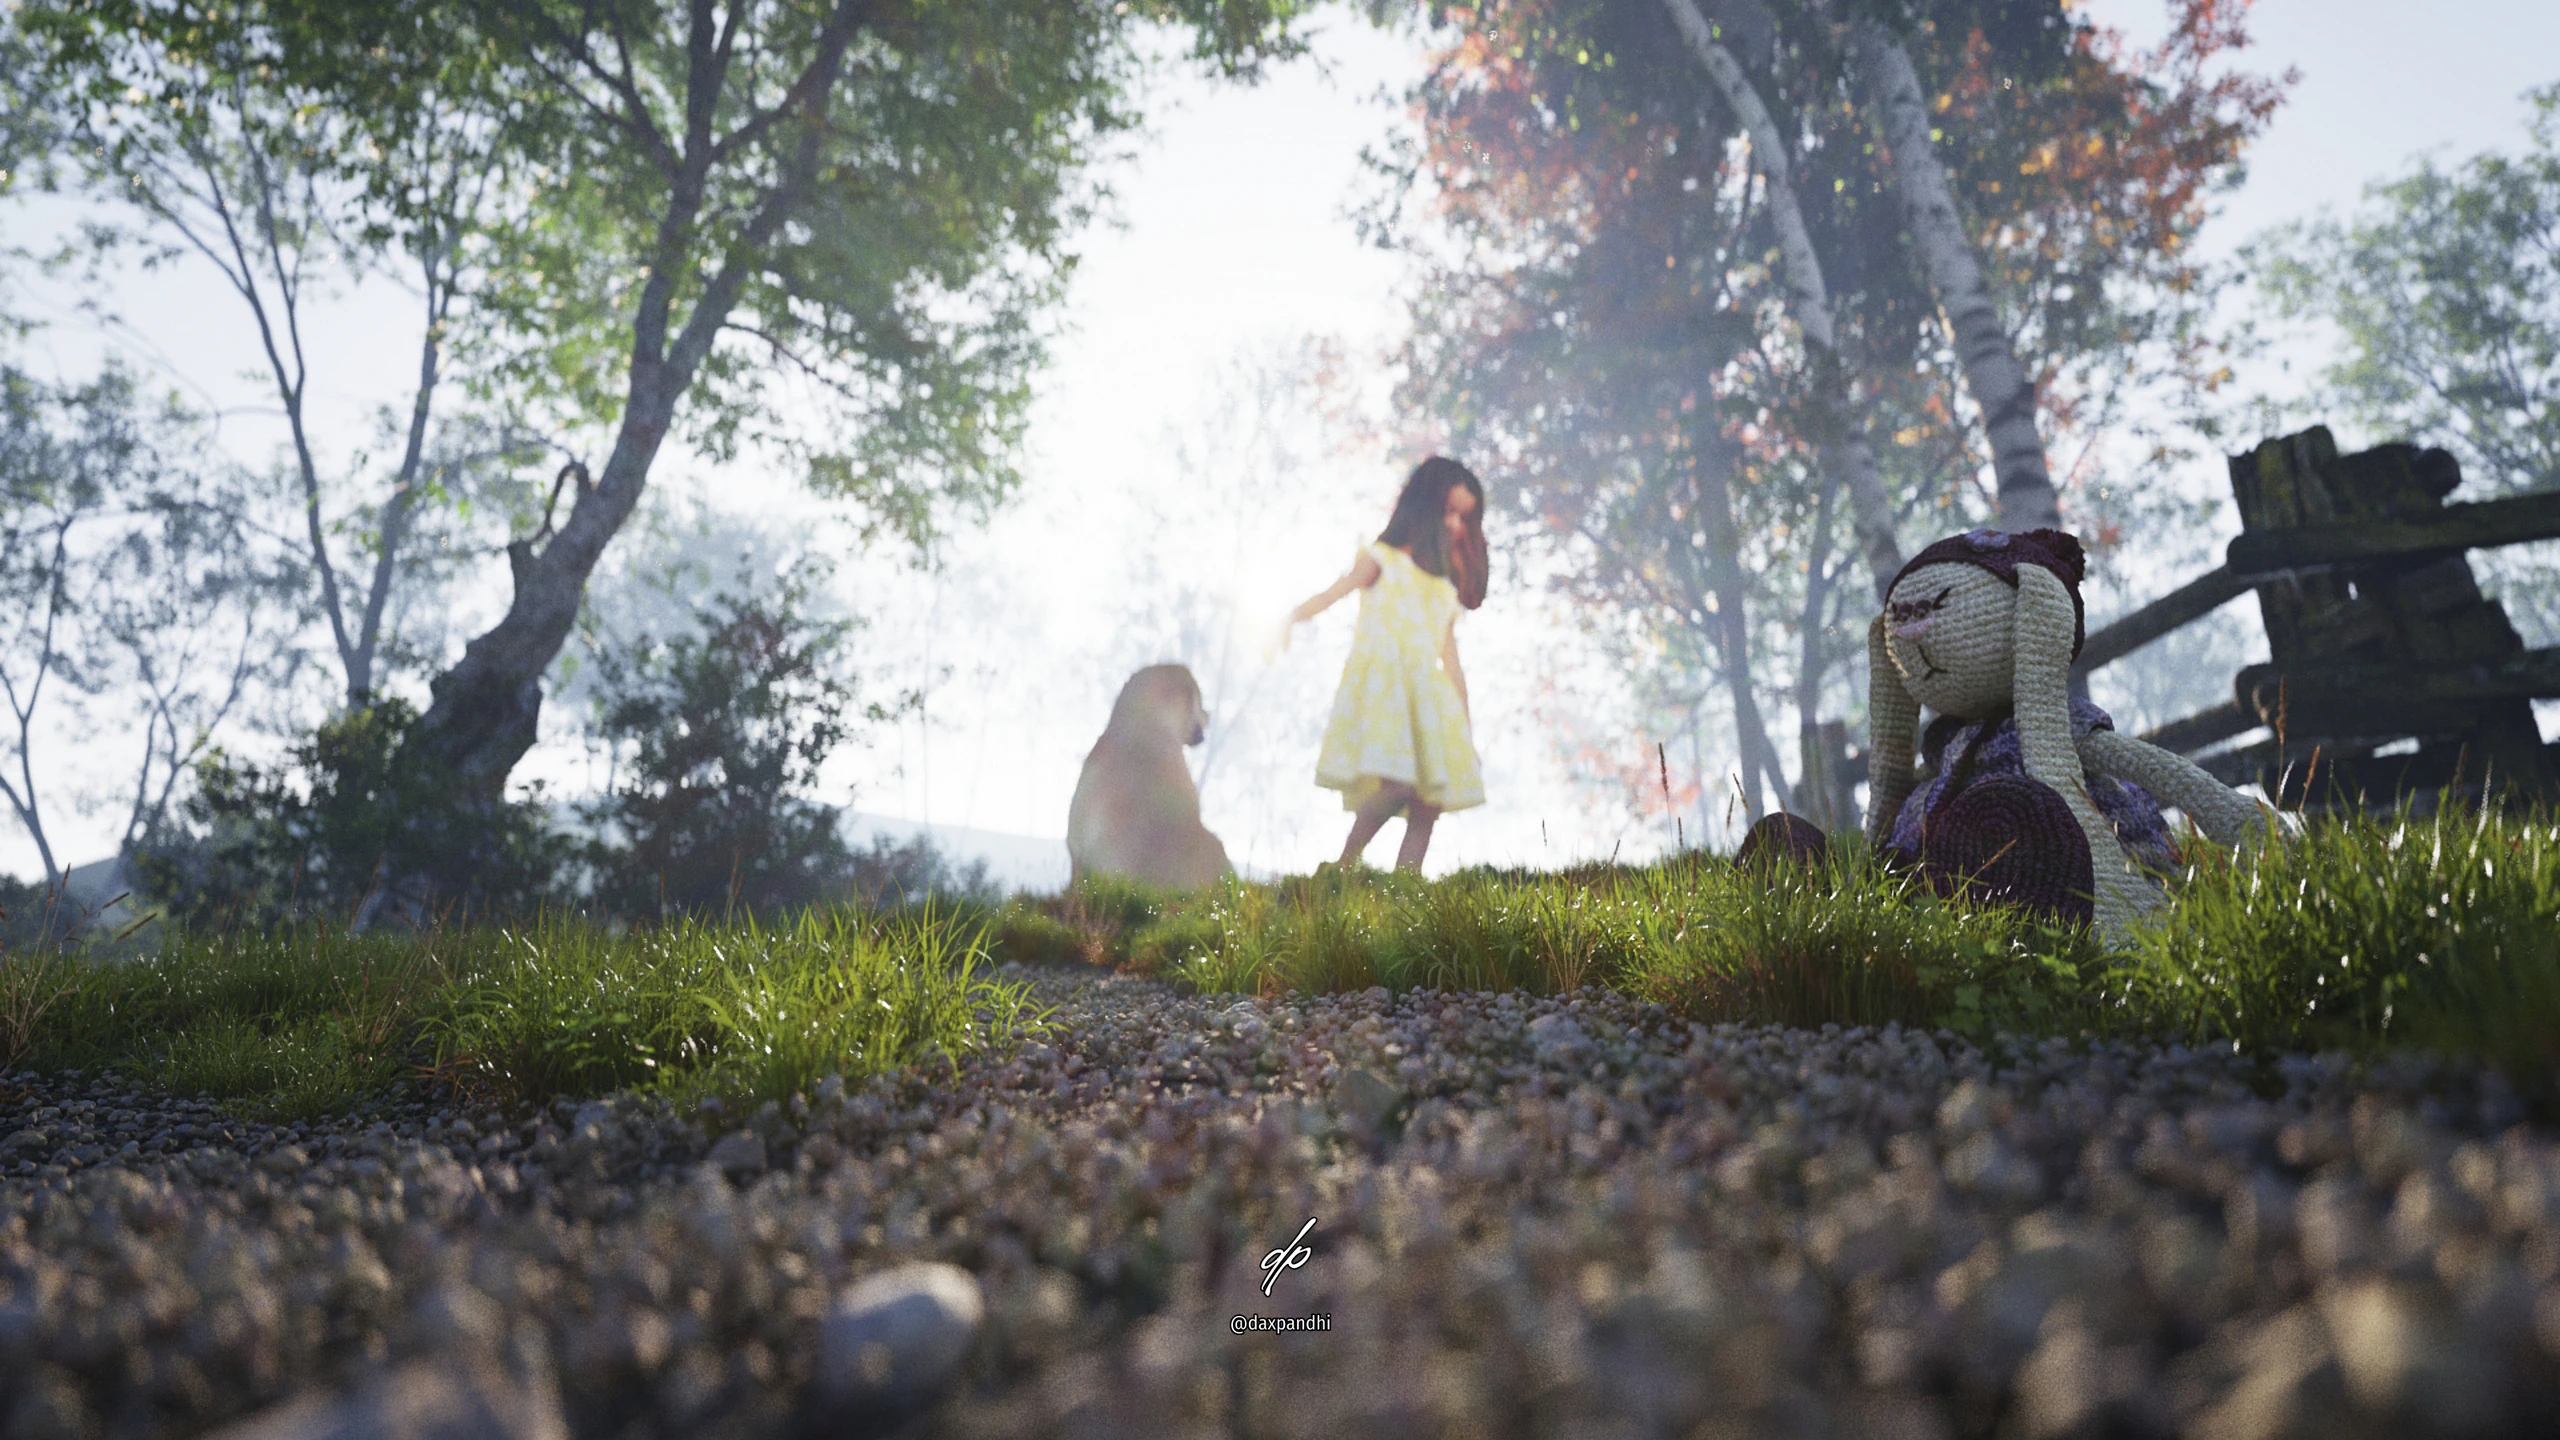
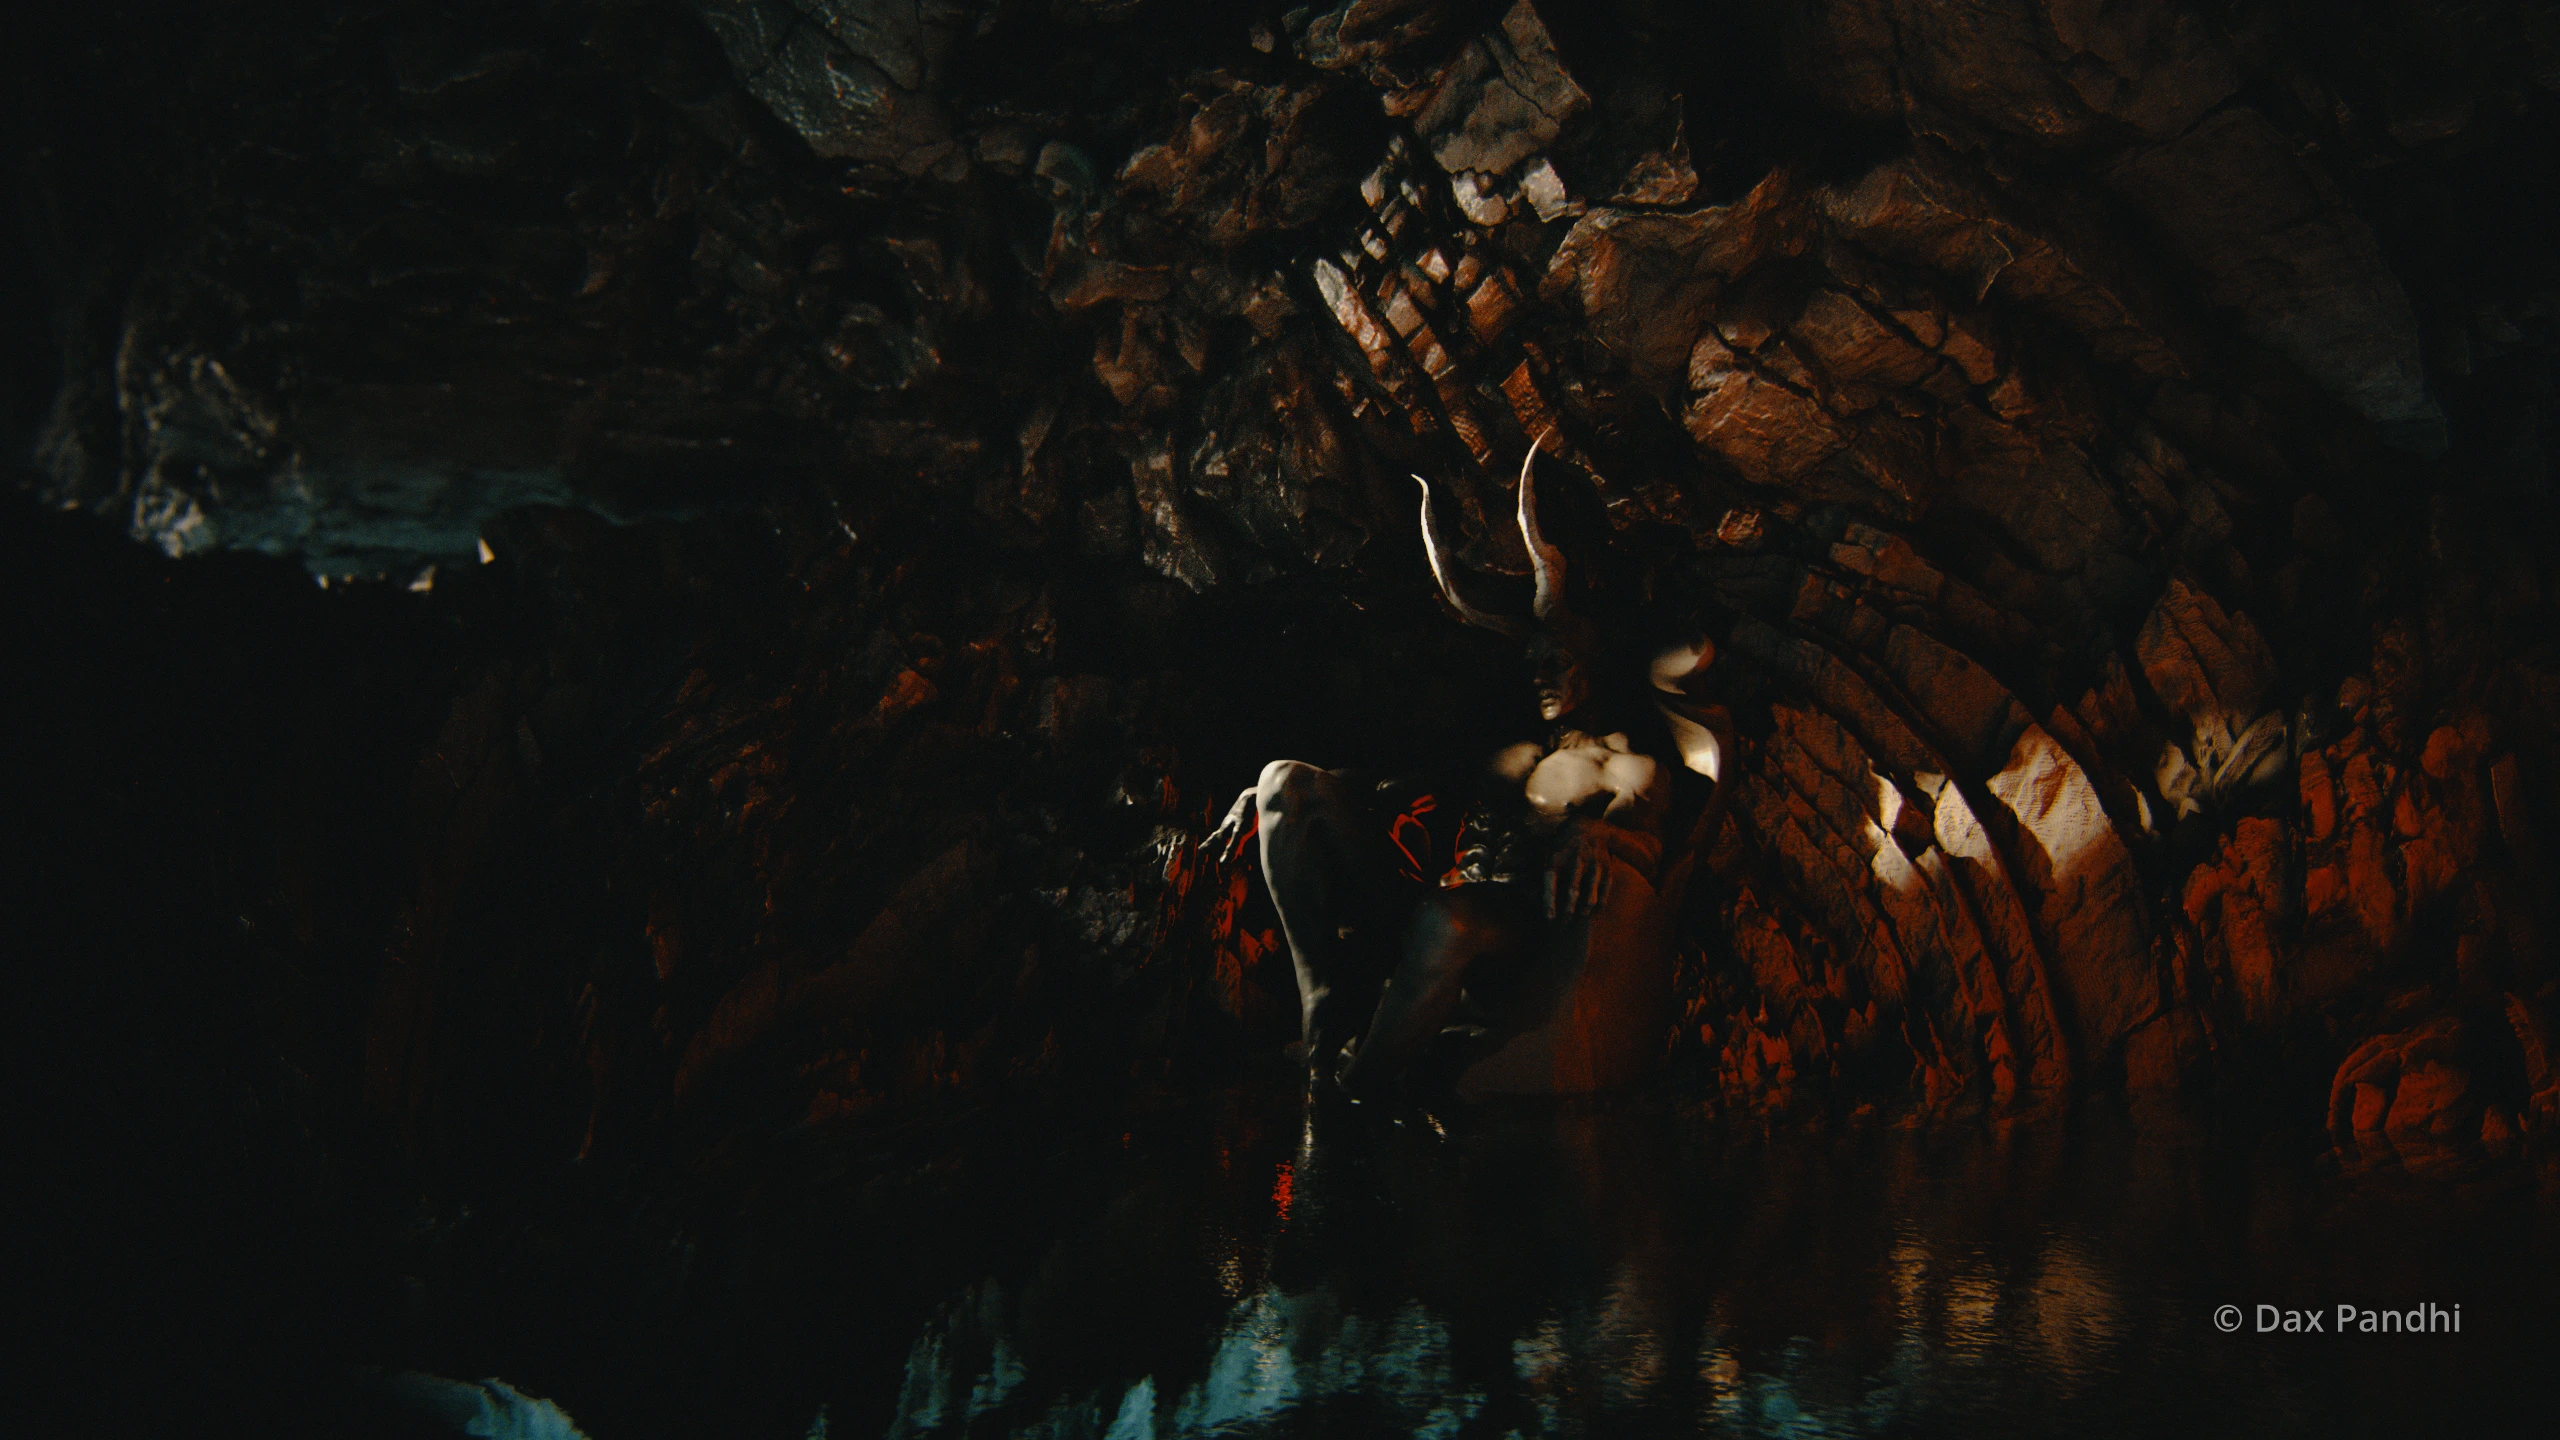
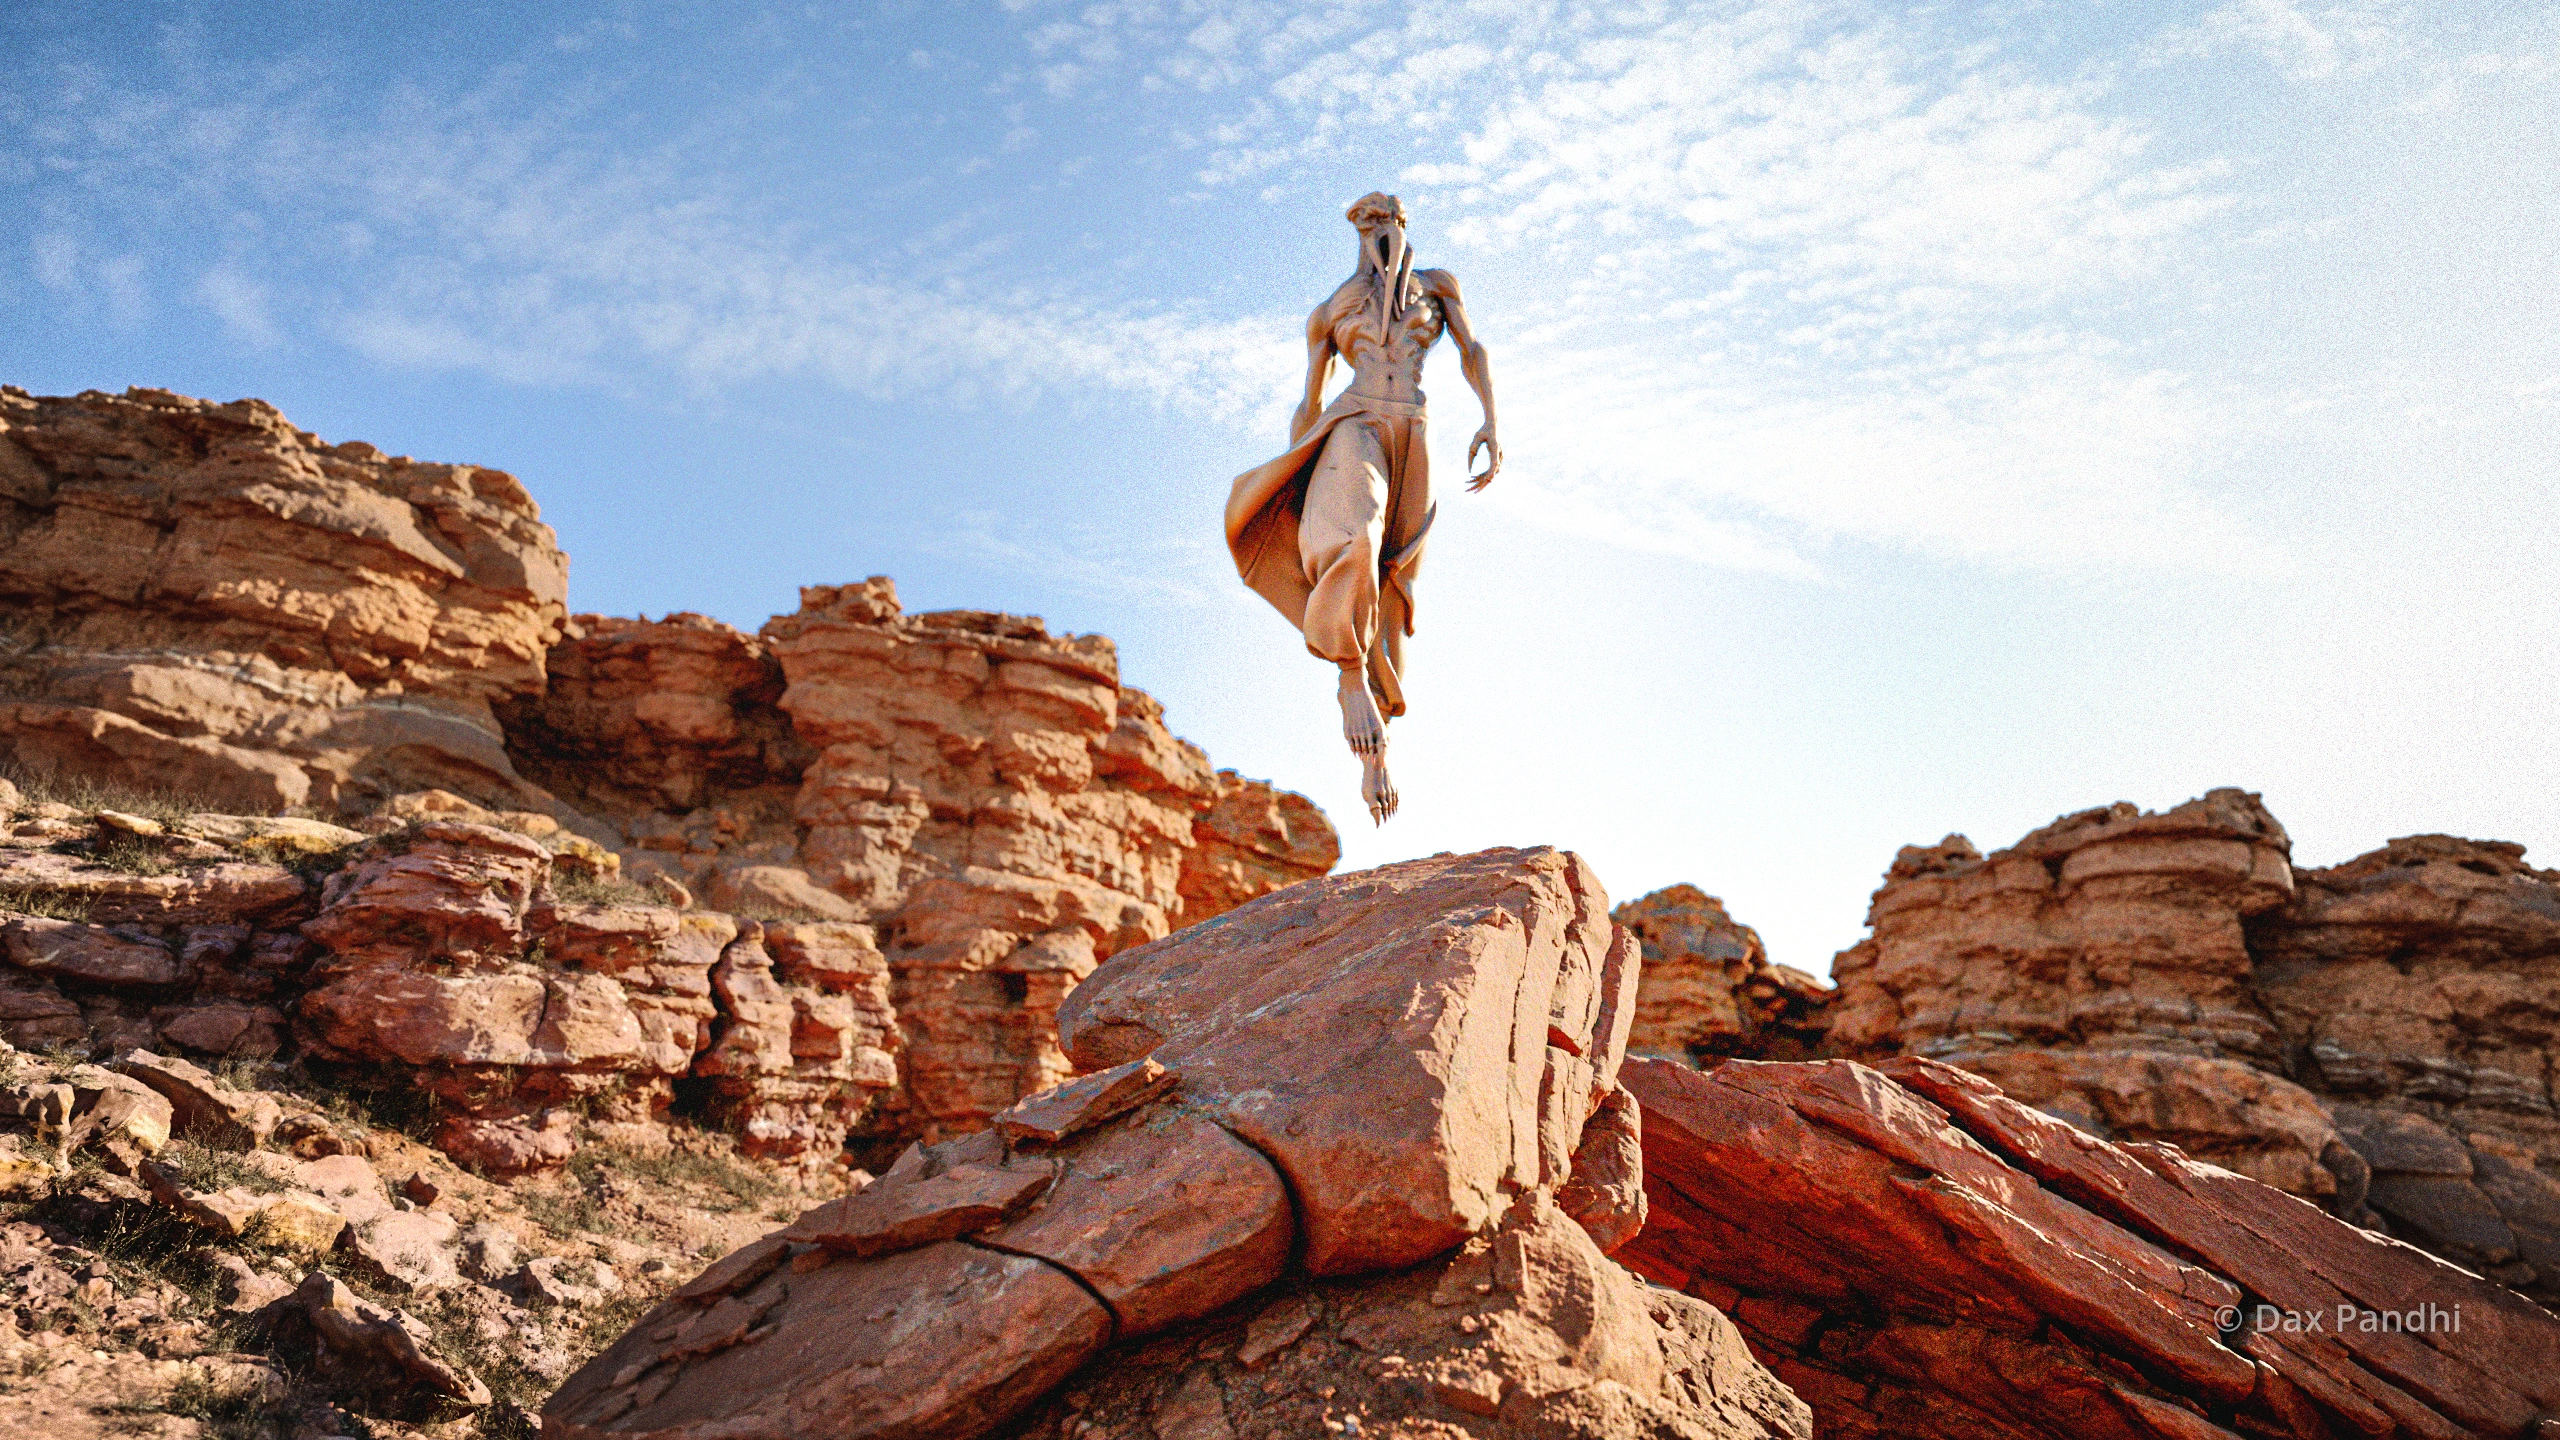
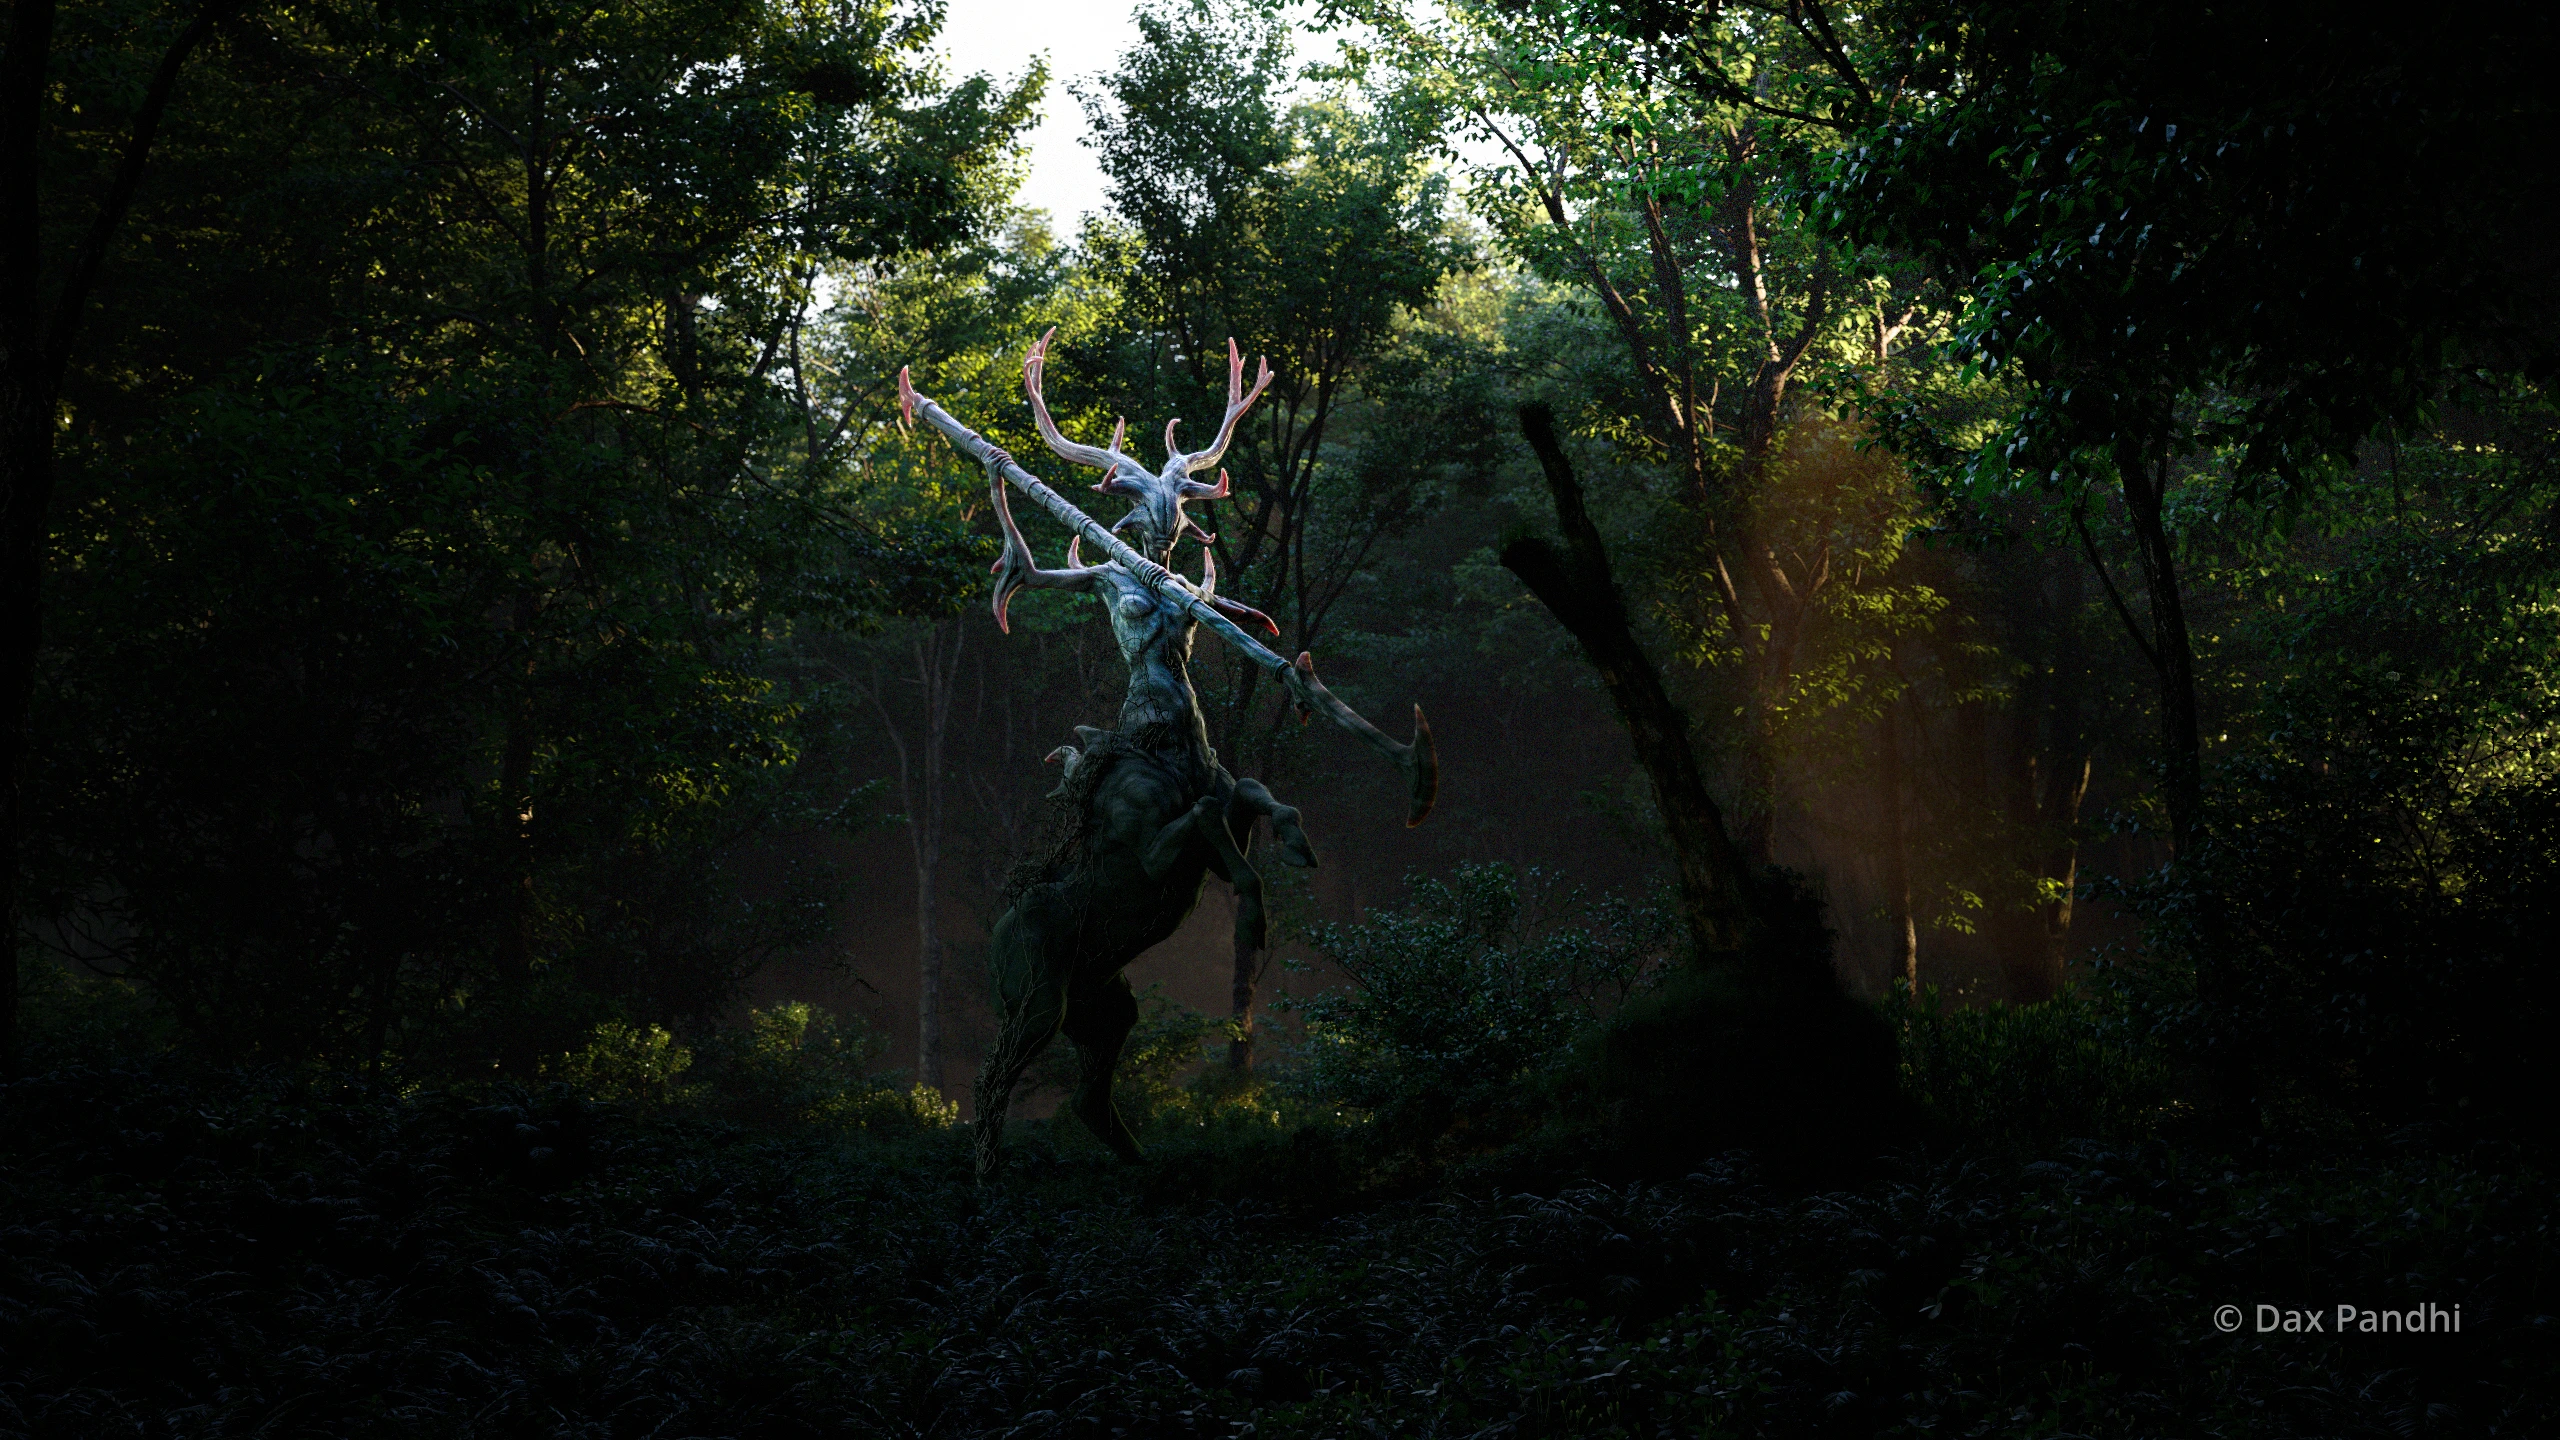
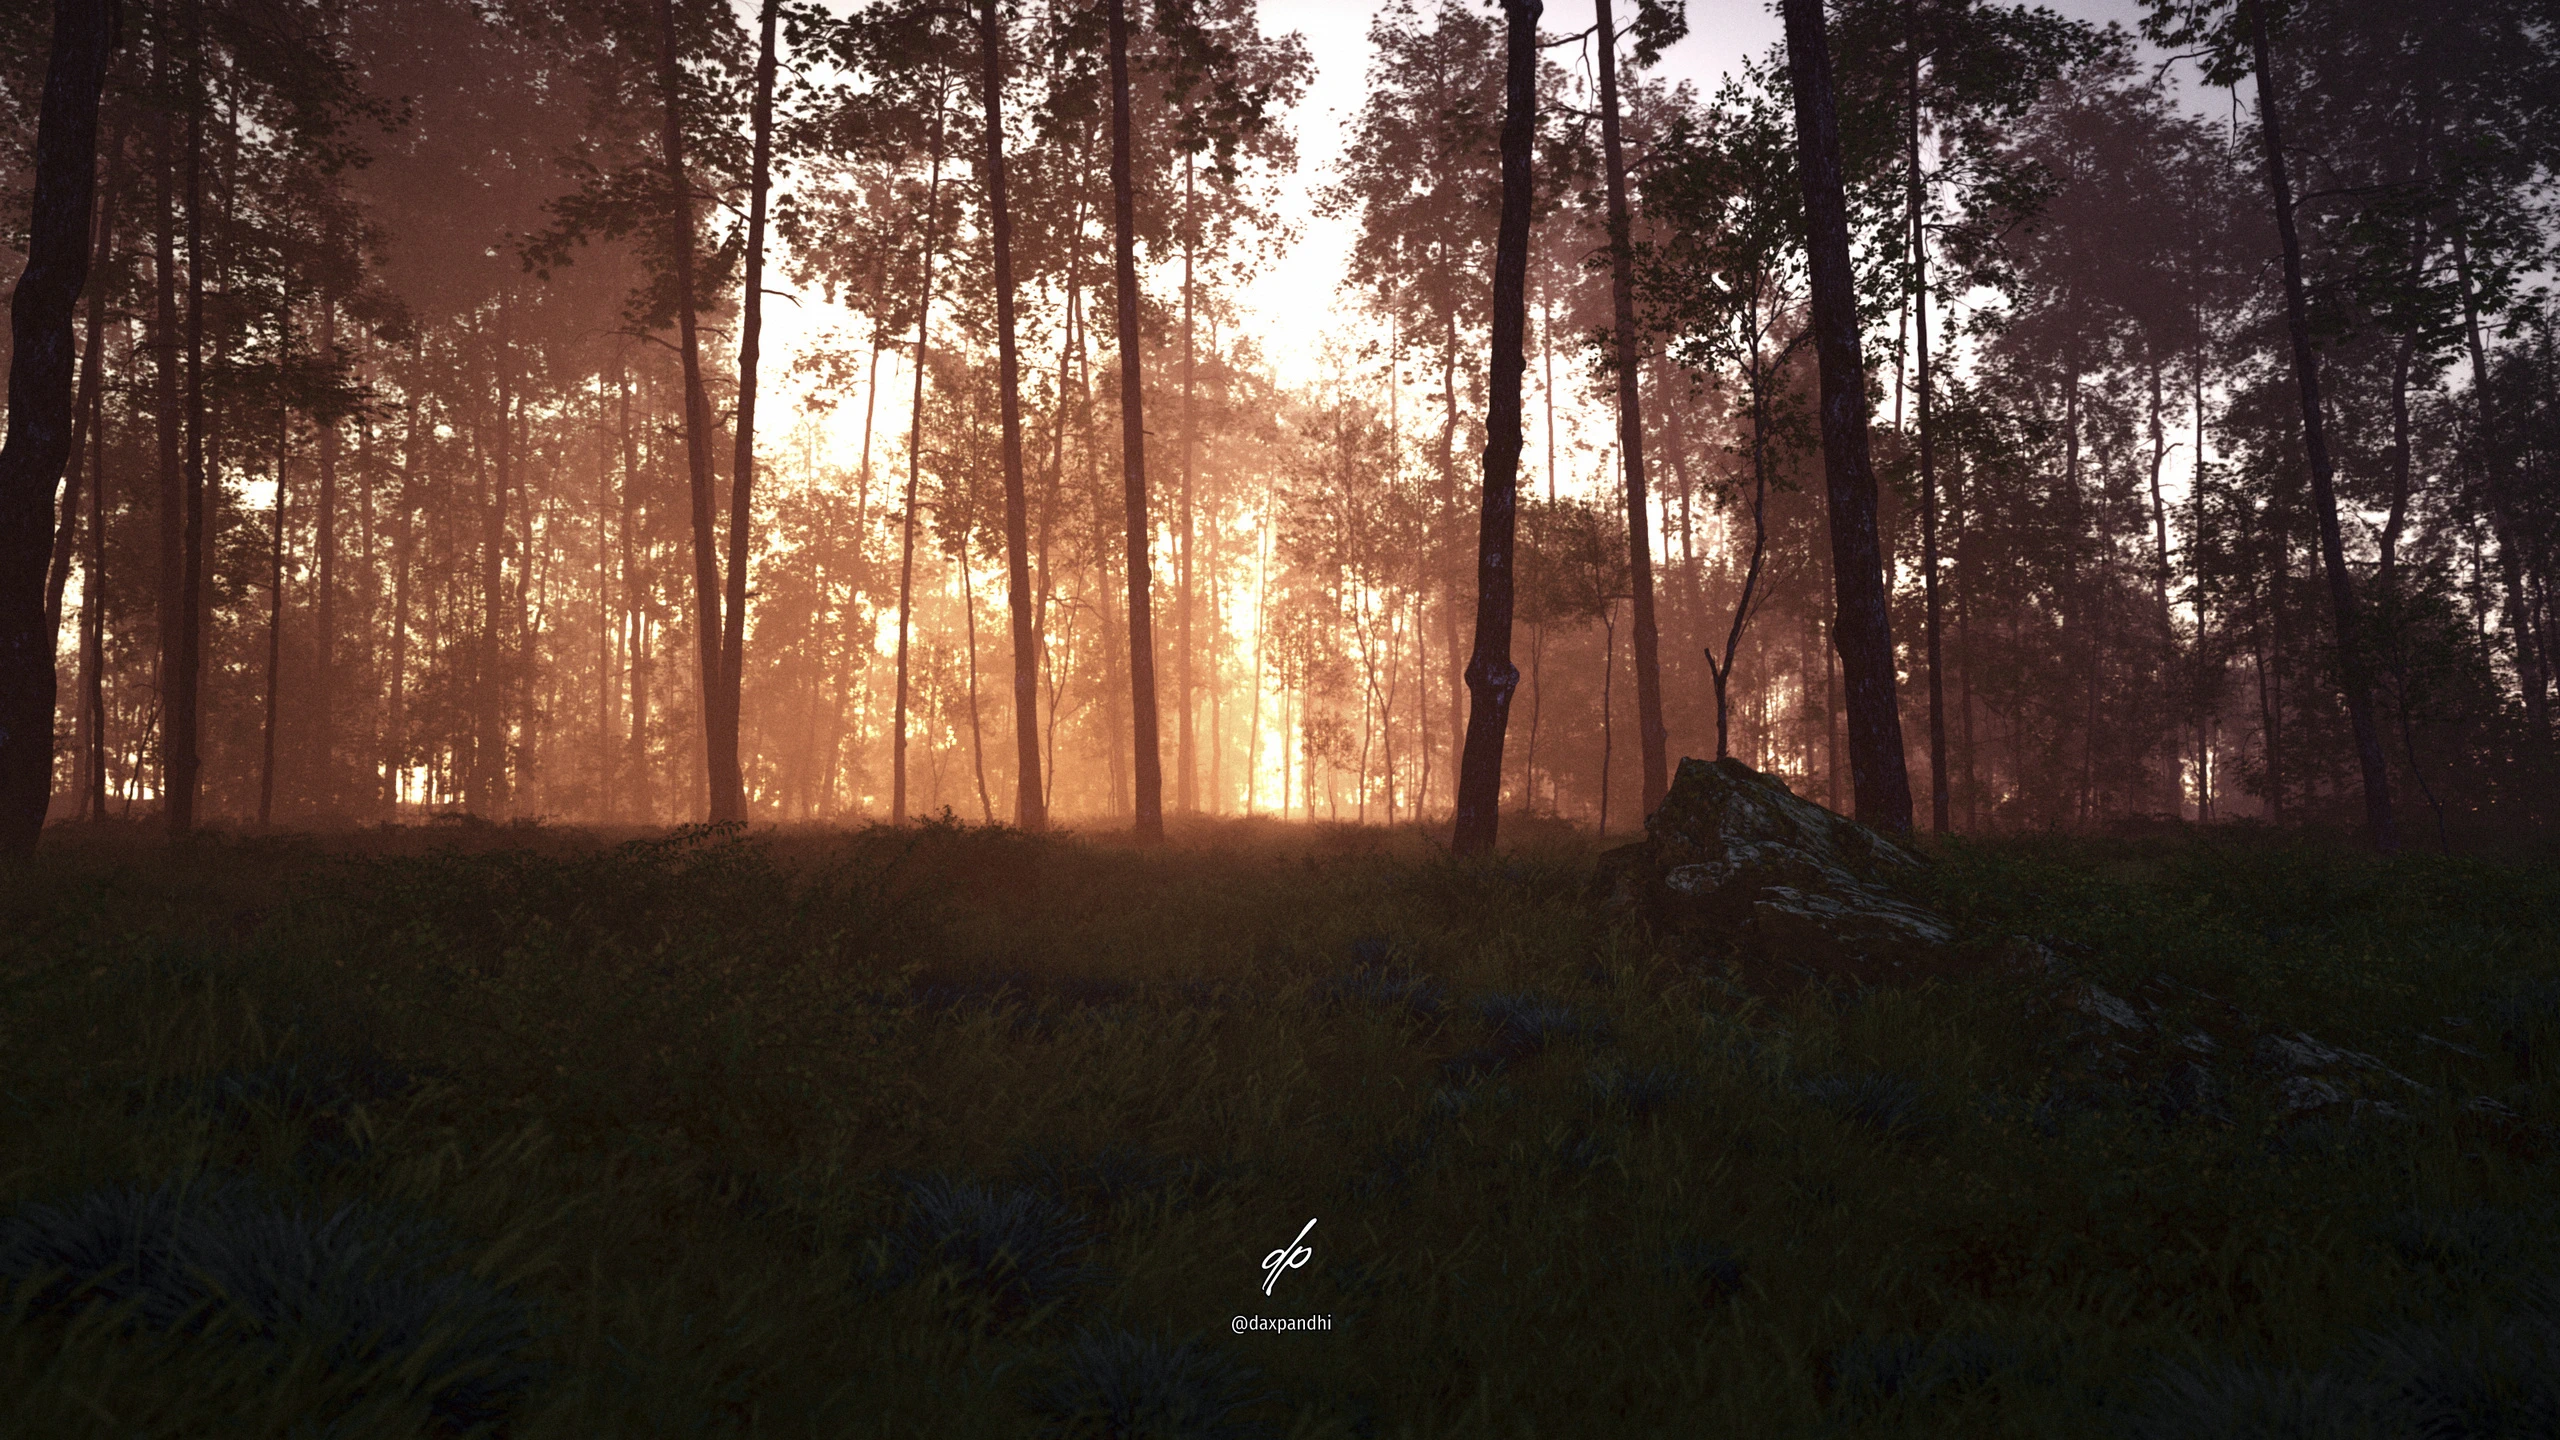
Recent Art


Still want more?
You can follow Dax on social media for more up-to-date content and information.


